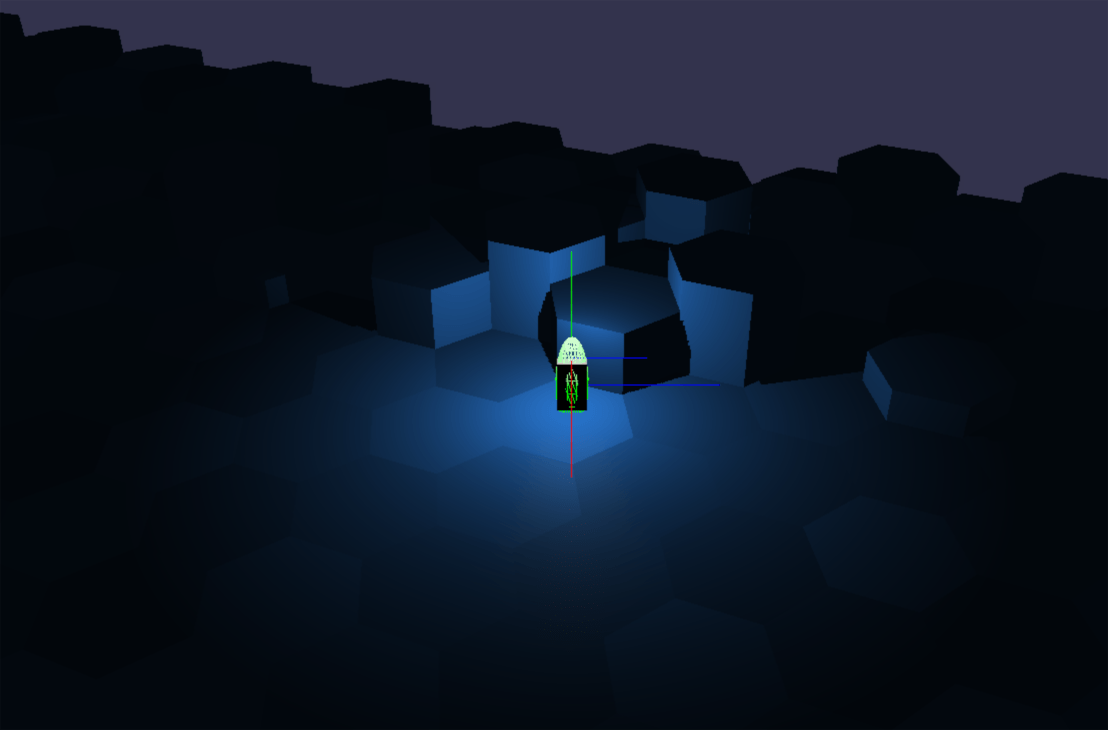
Player position is mapped directly to it’s position within it’s local hexagon with a small handful of arithmetic operations and Math.floor() calls. All collision cases can be handled with a couple of if branches, dot products and scalar vector multiplies. Nice.
The physics sim is as simple as I could make it. Simplicity over accuracy here because an authoritative server needs to perform physics calculations for every player in the game.
Simplicity also matters because an identical result by the server calculations must be achieved even when this simulation is implemented in a different (faster than javascript) language server side.
The player has a little bit of inertia, which will slightly ease the burden of the multiplayer server to provide an immediate change in position broadcast to all players when a player stops moving or changes direction.
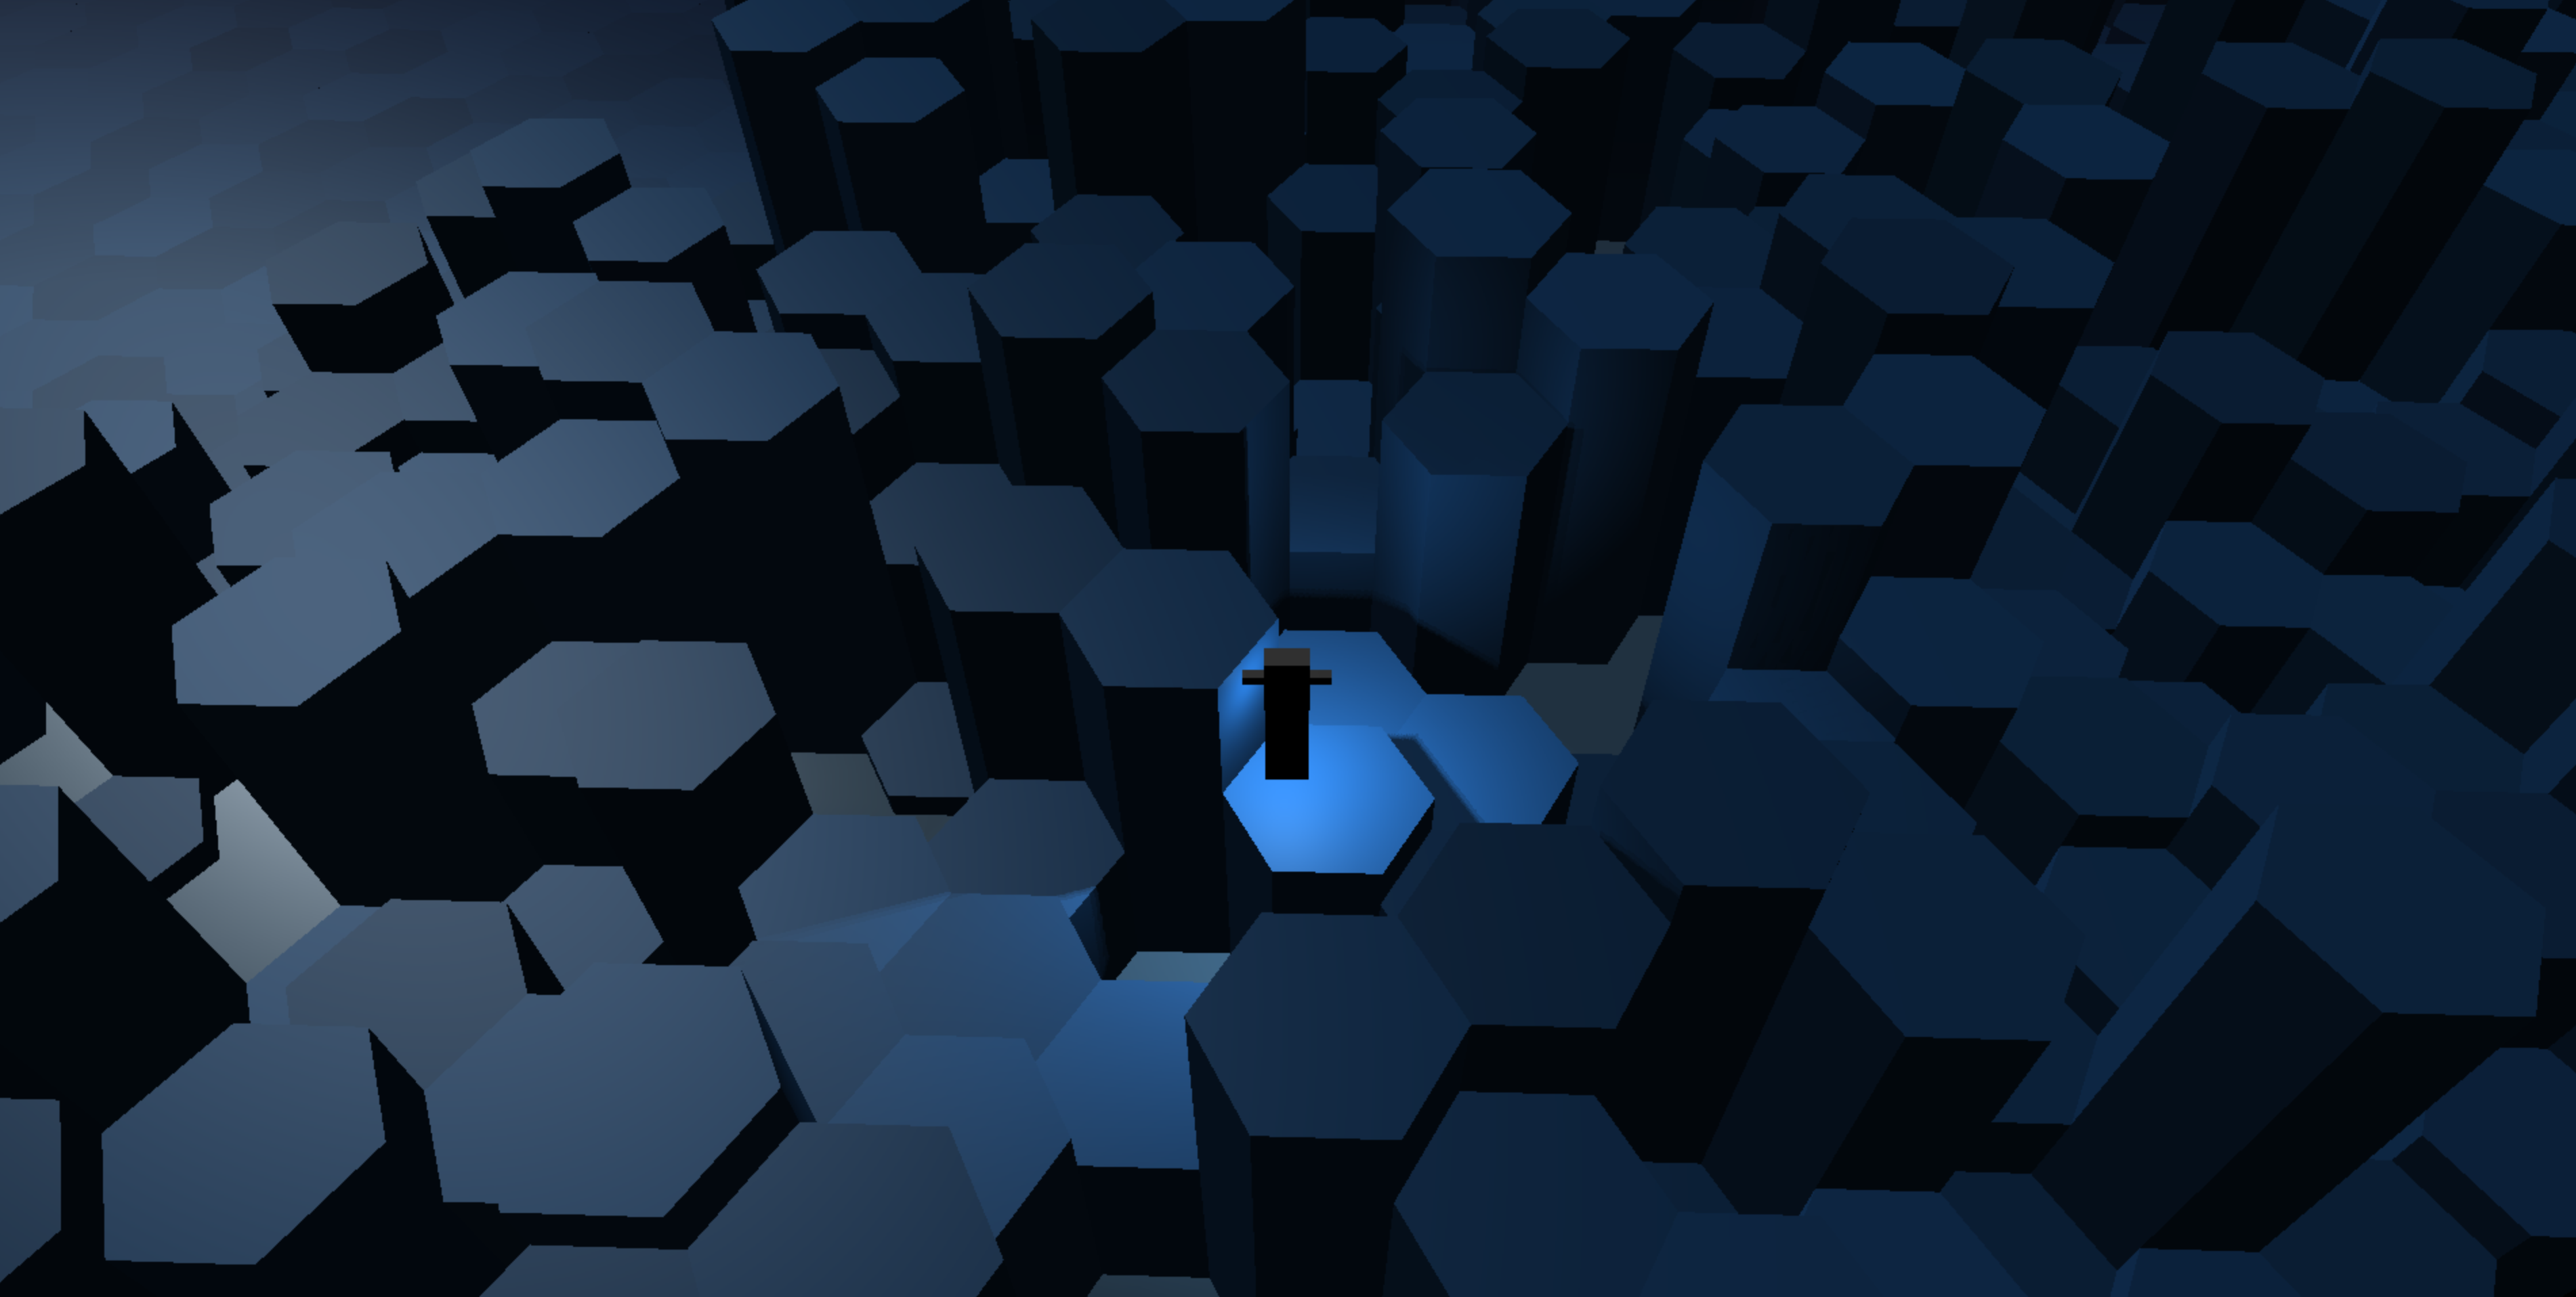
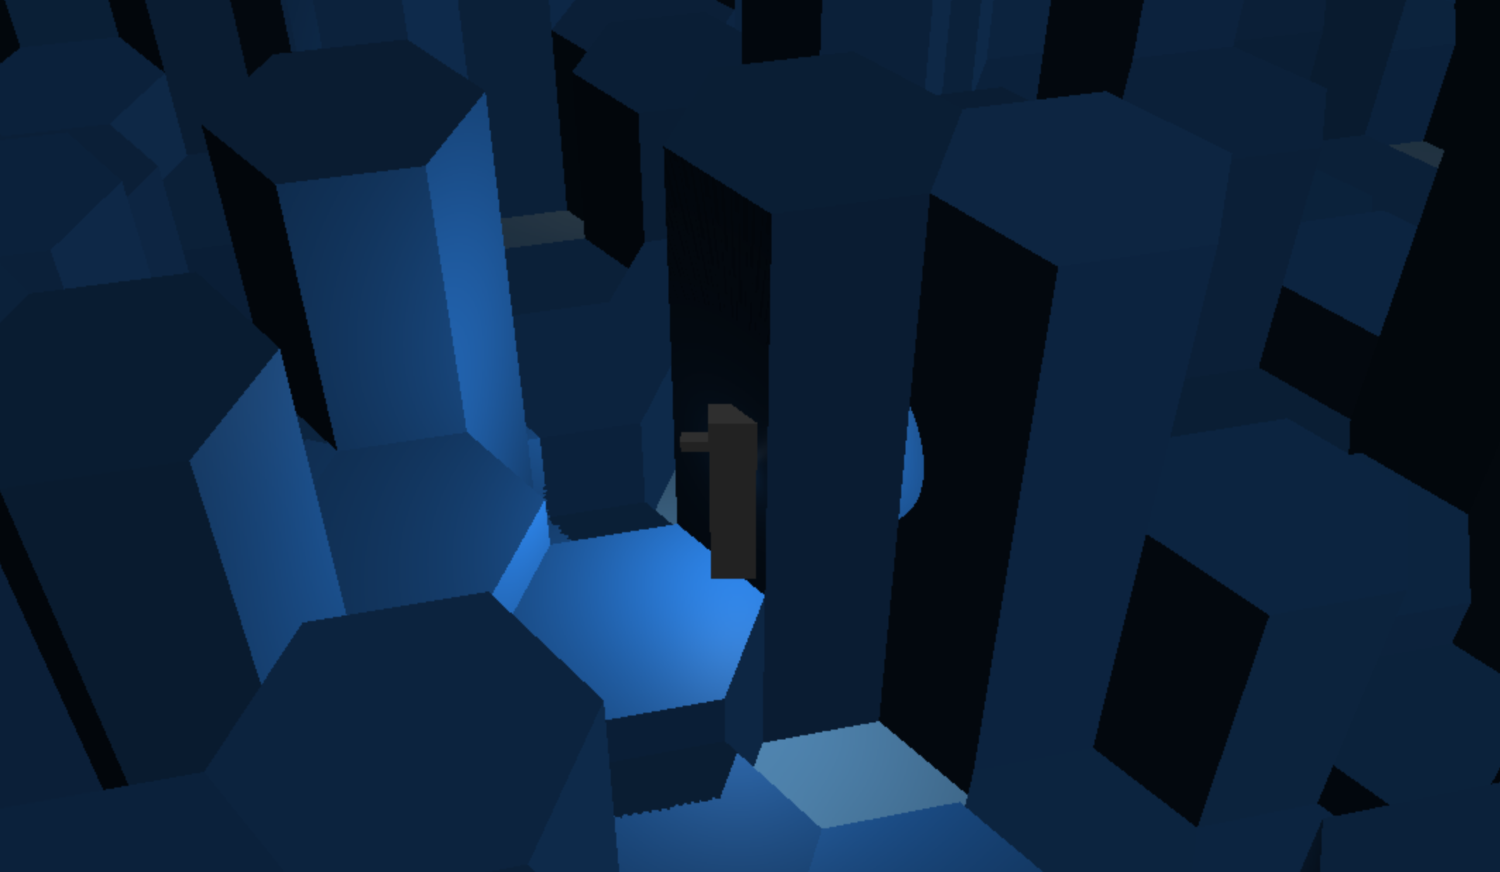
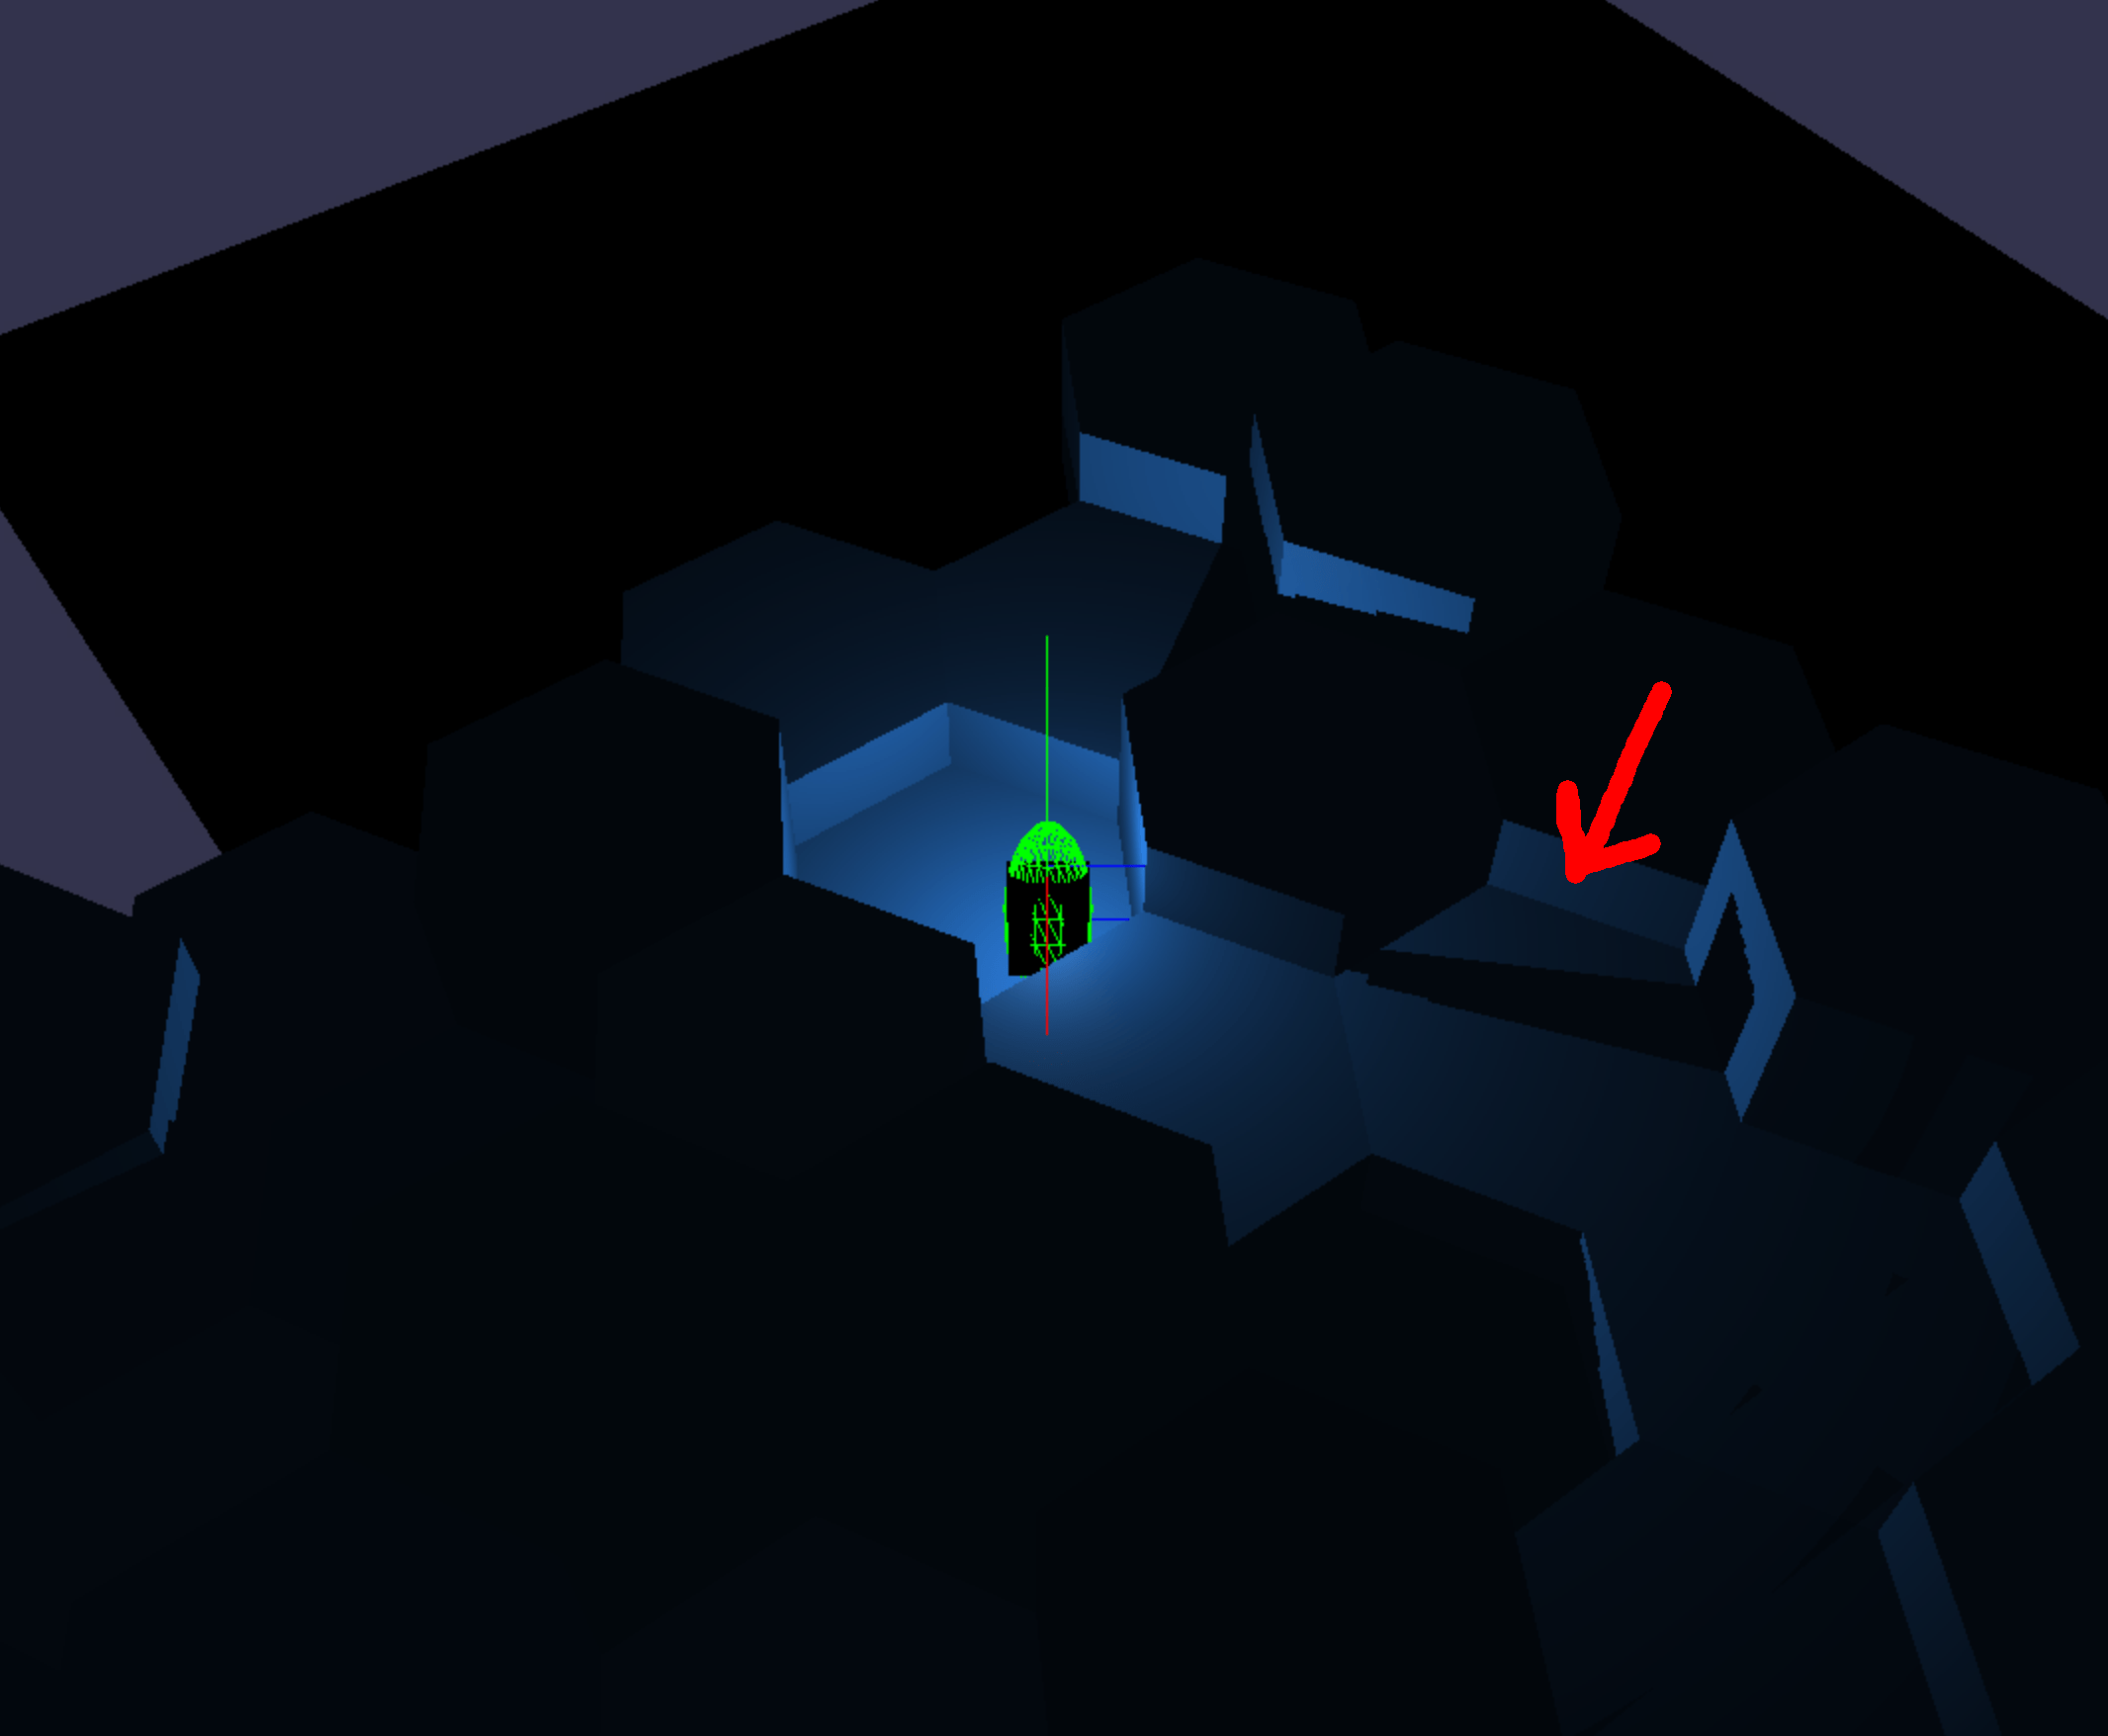
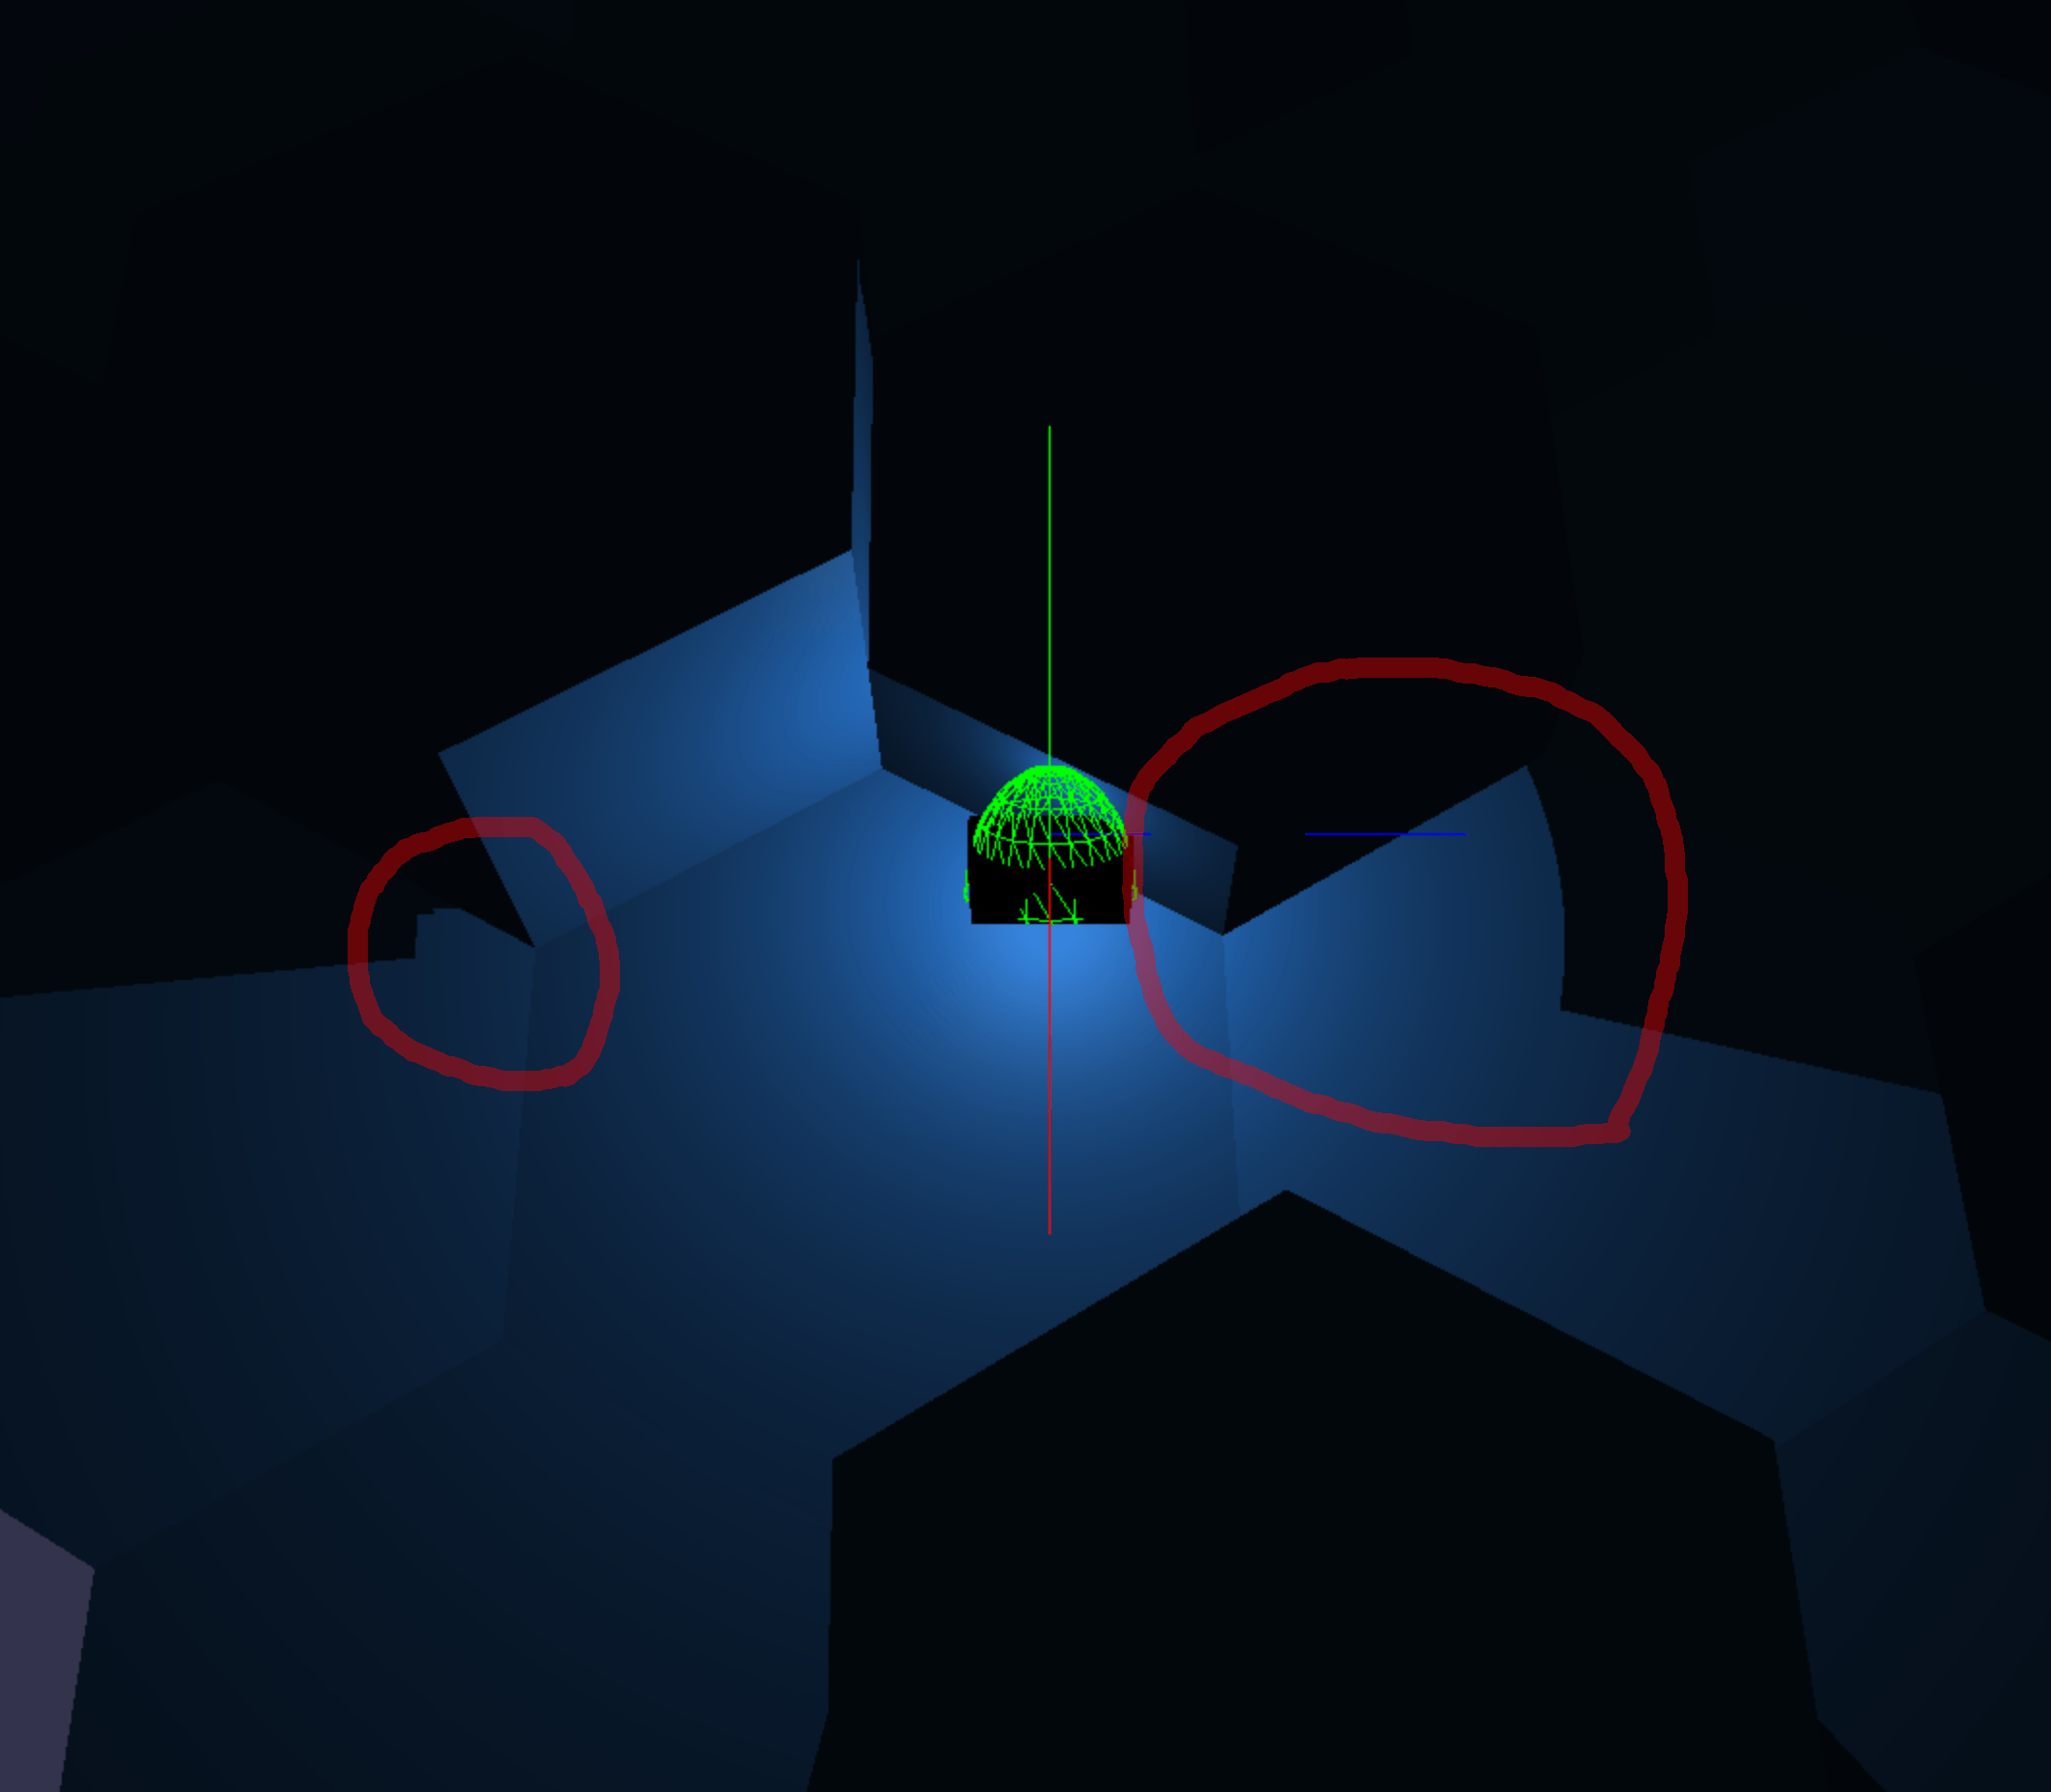
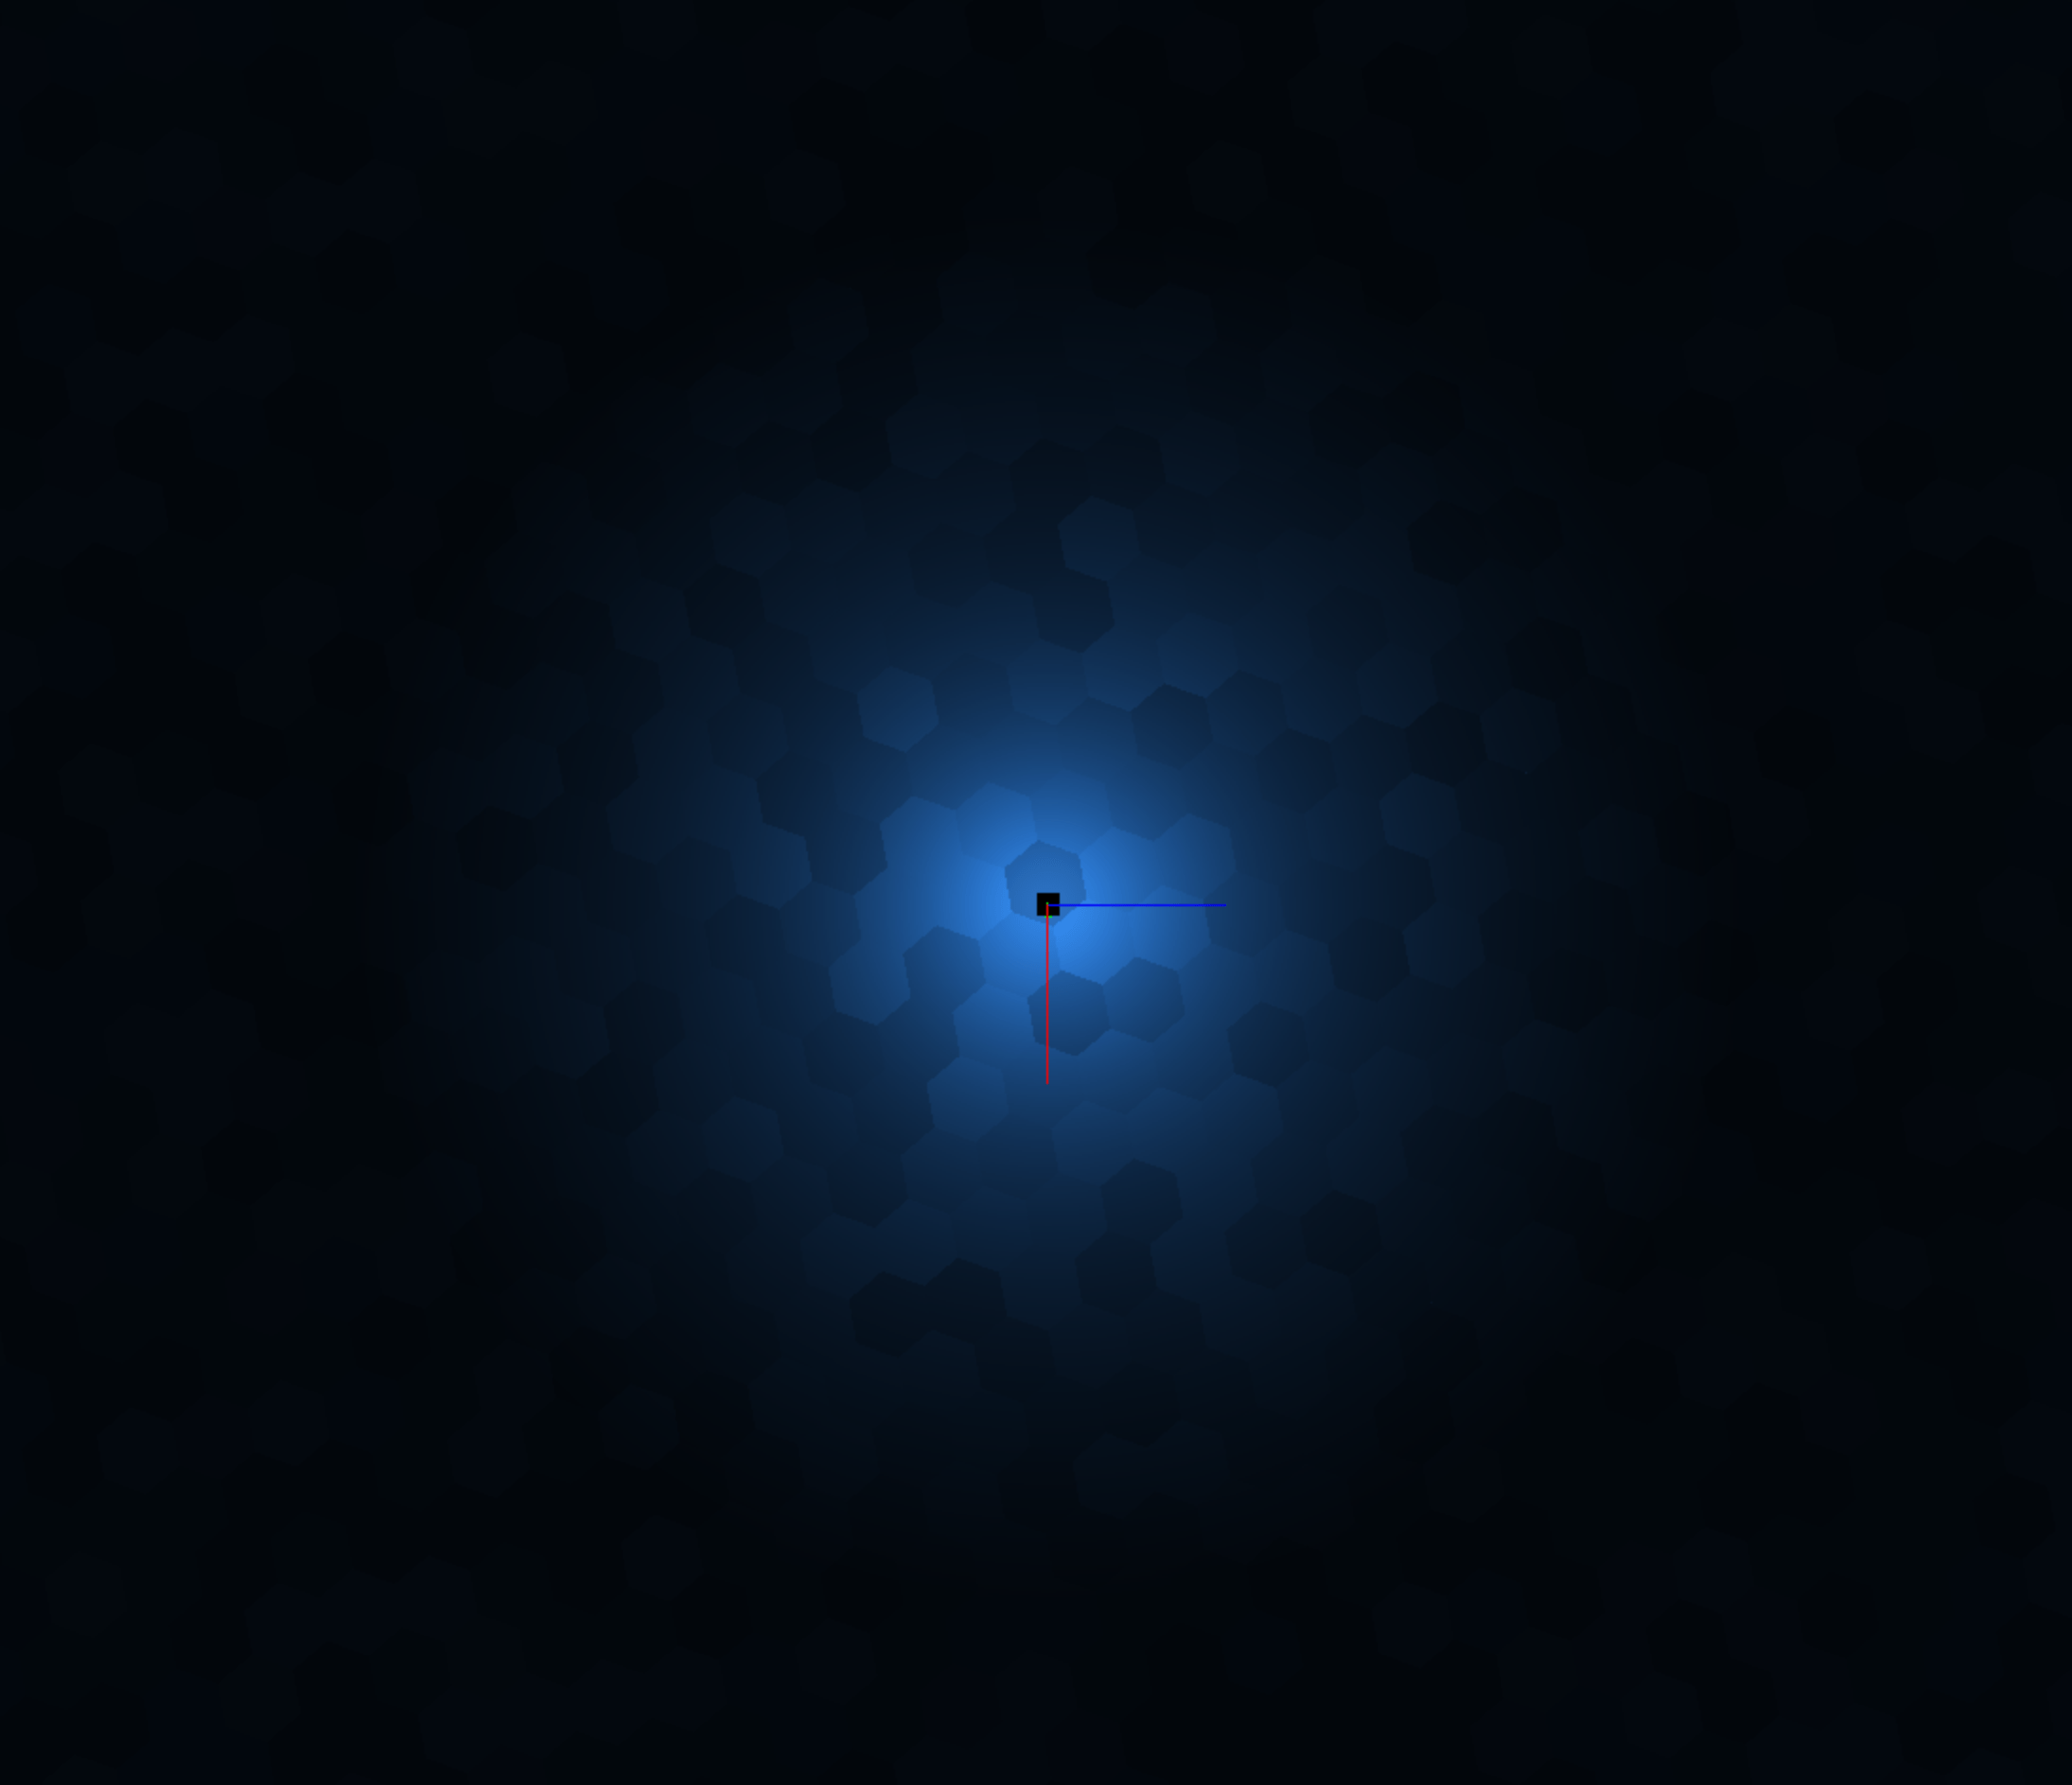
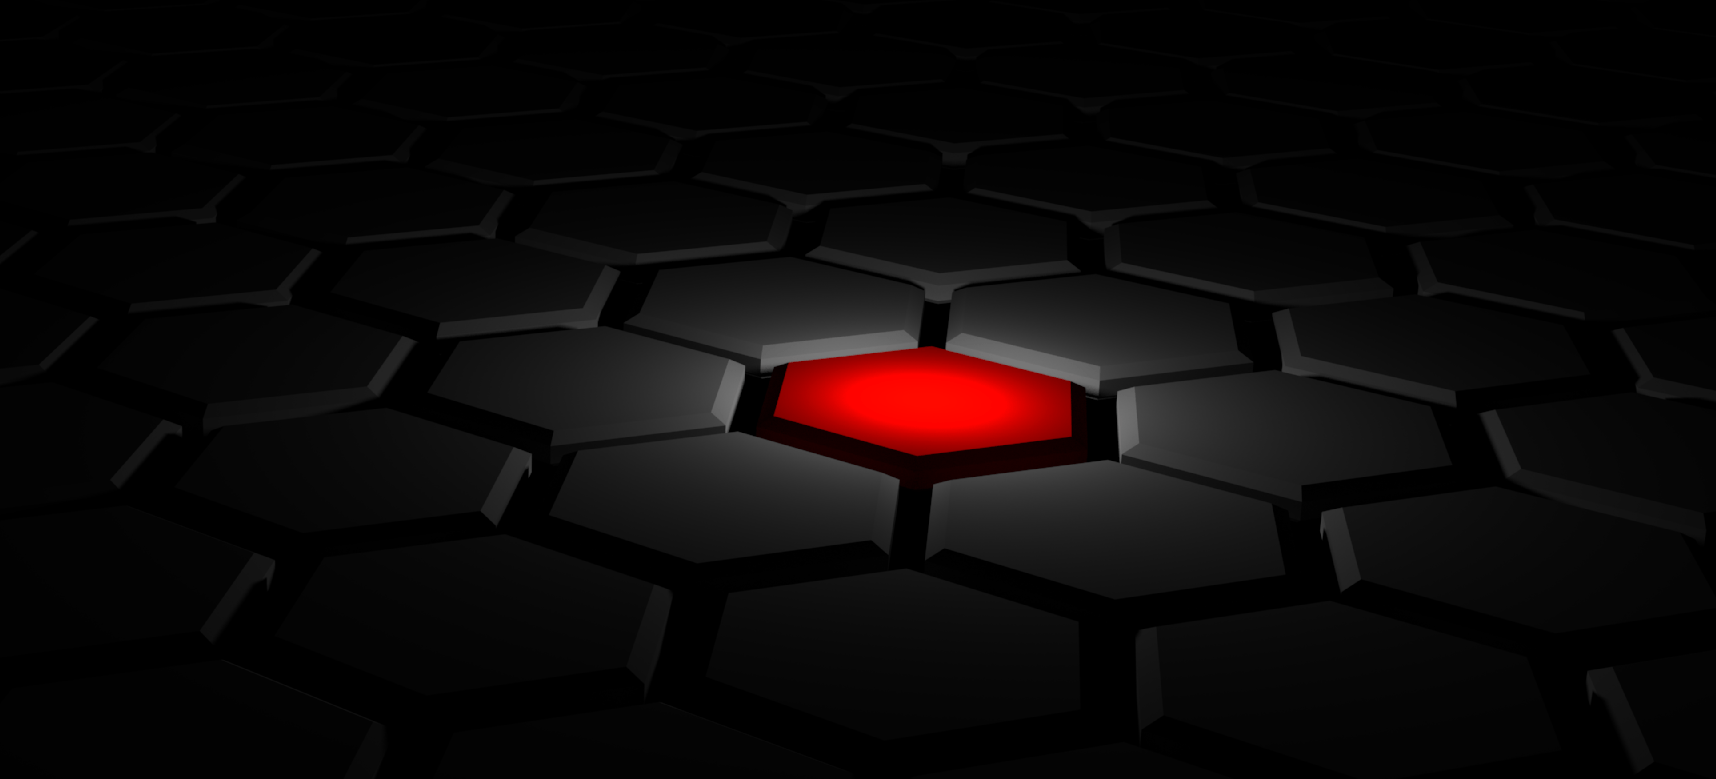
The player character can now detect collision with hexagon cells that the game world is composed of, so no more just walking through walls.
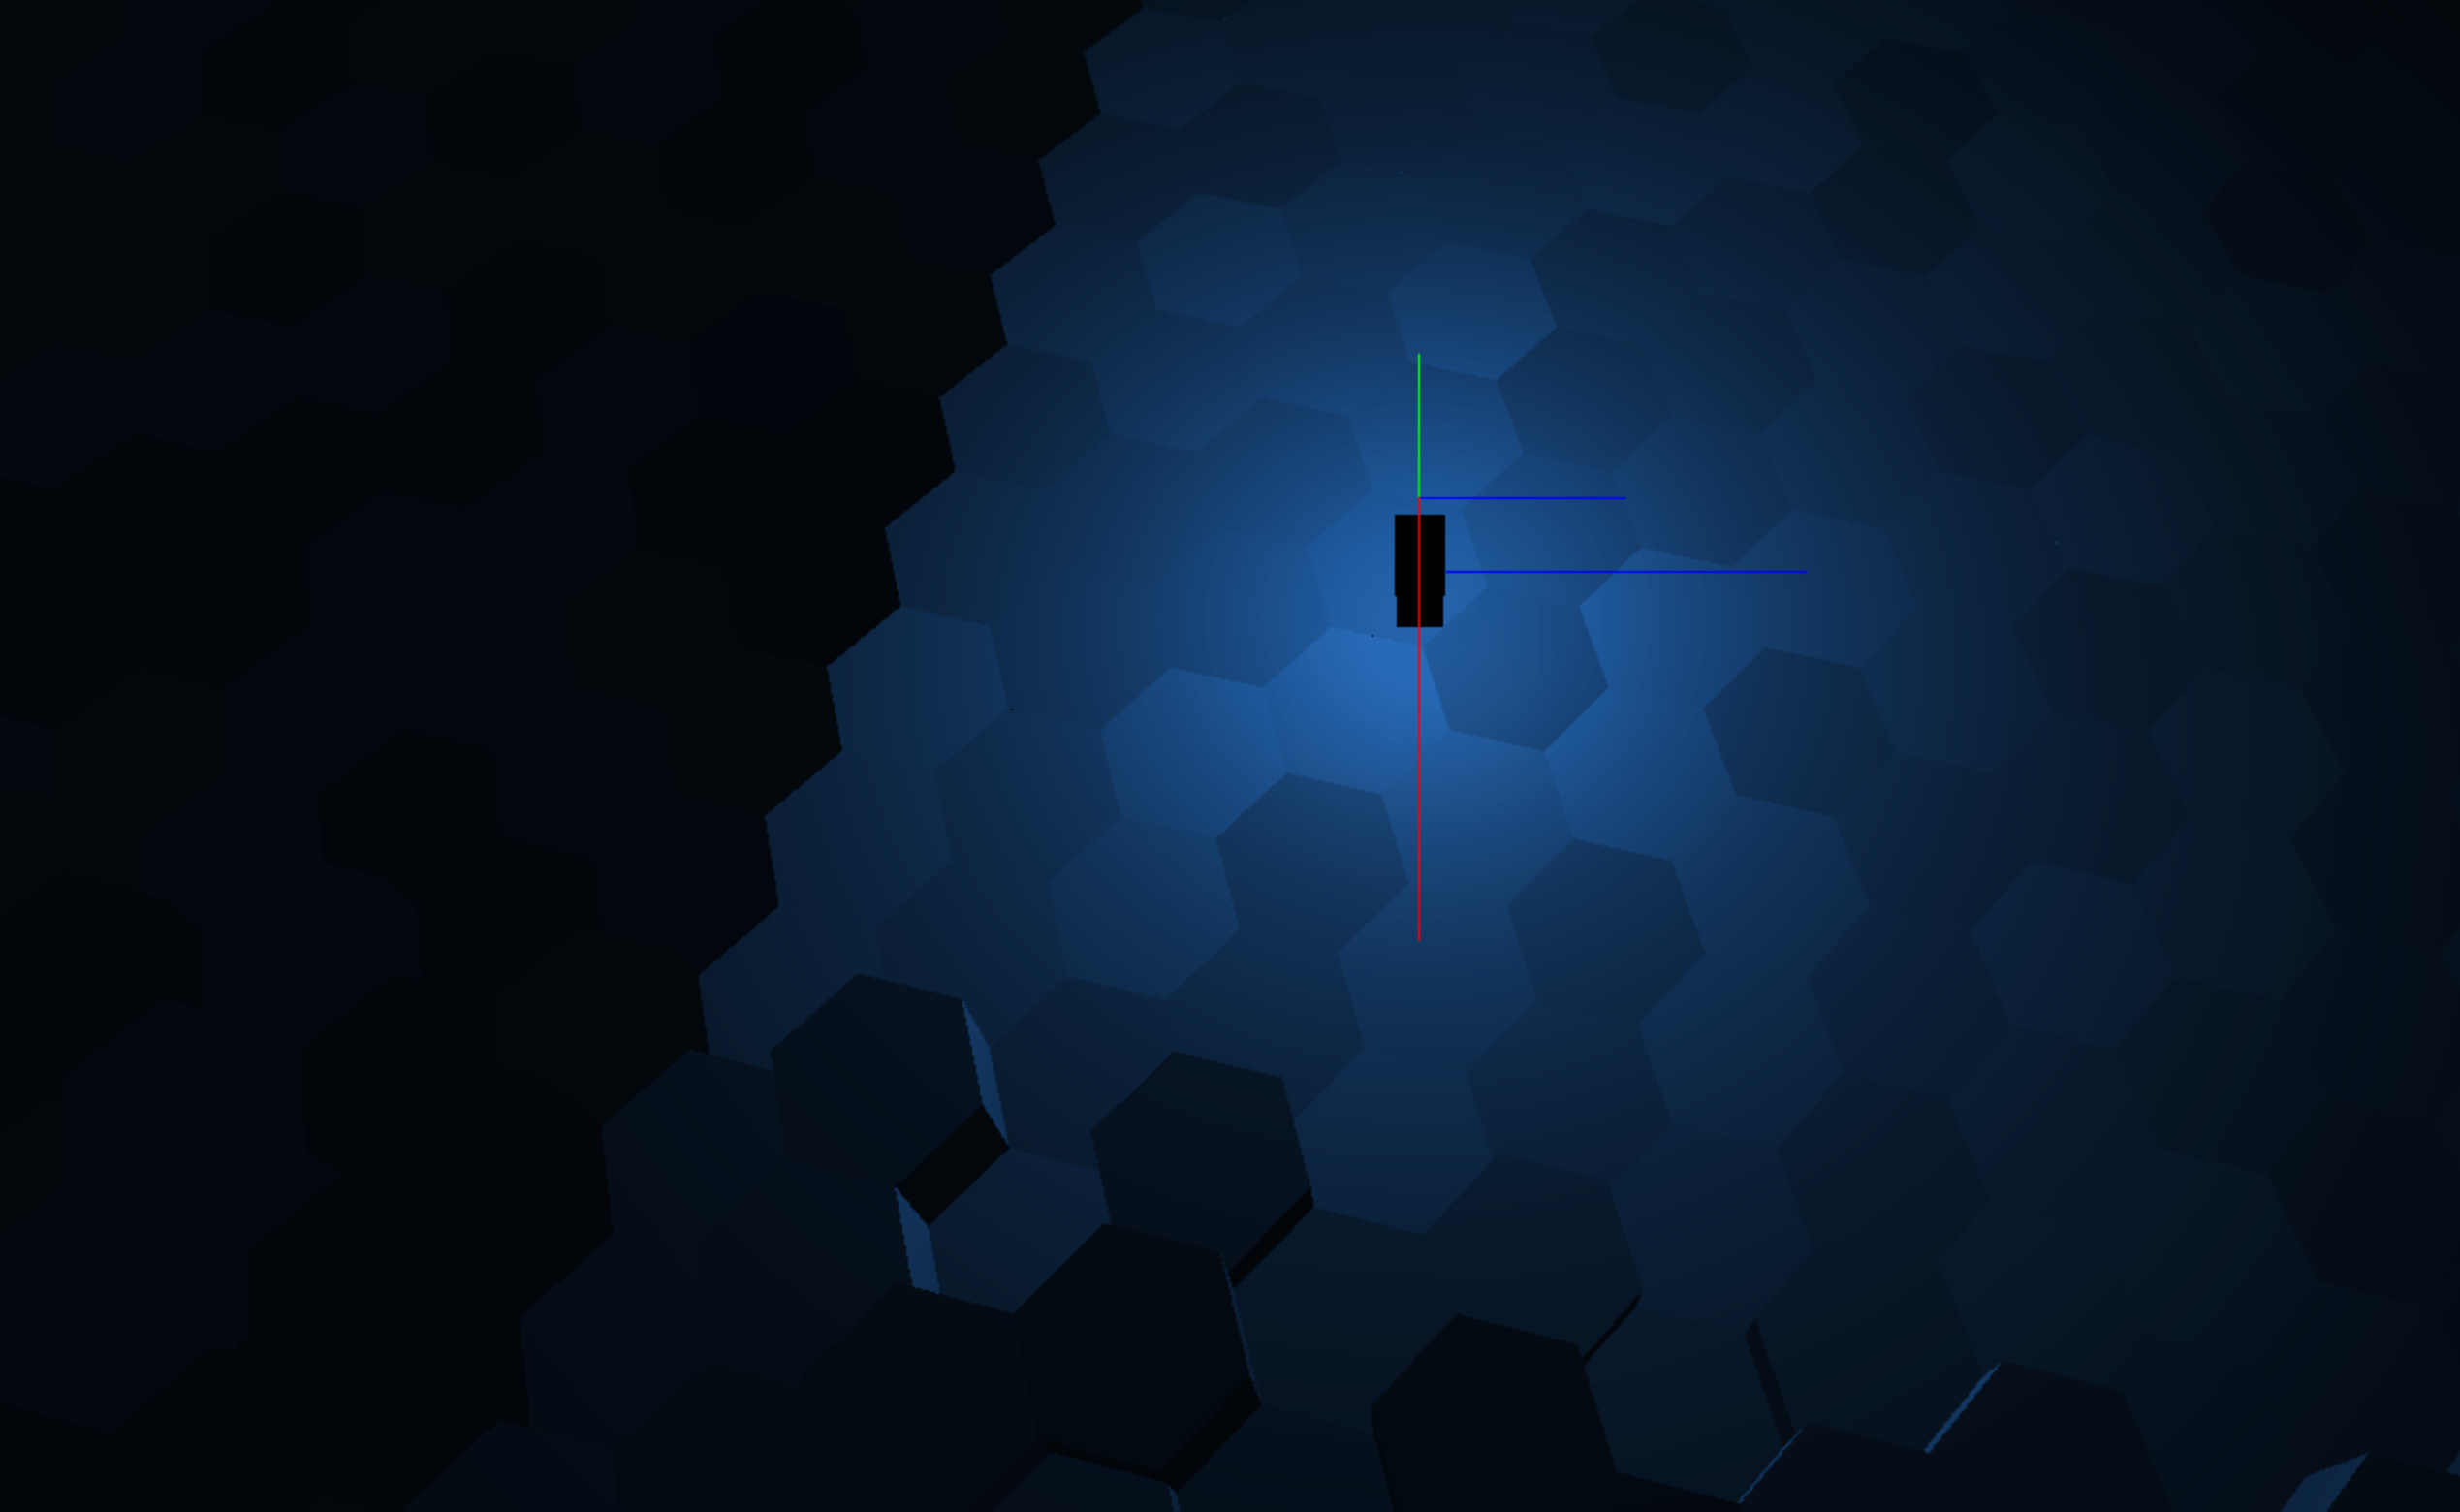
Above: Light bleeding through the mesh due to over penetration of character with mesh.
As you can see, the character can get too close to the walls. The physics simulation I’ve written here is also lacking any concept of inertia or friction.
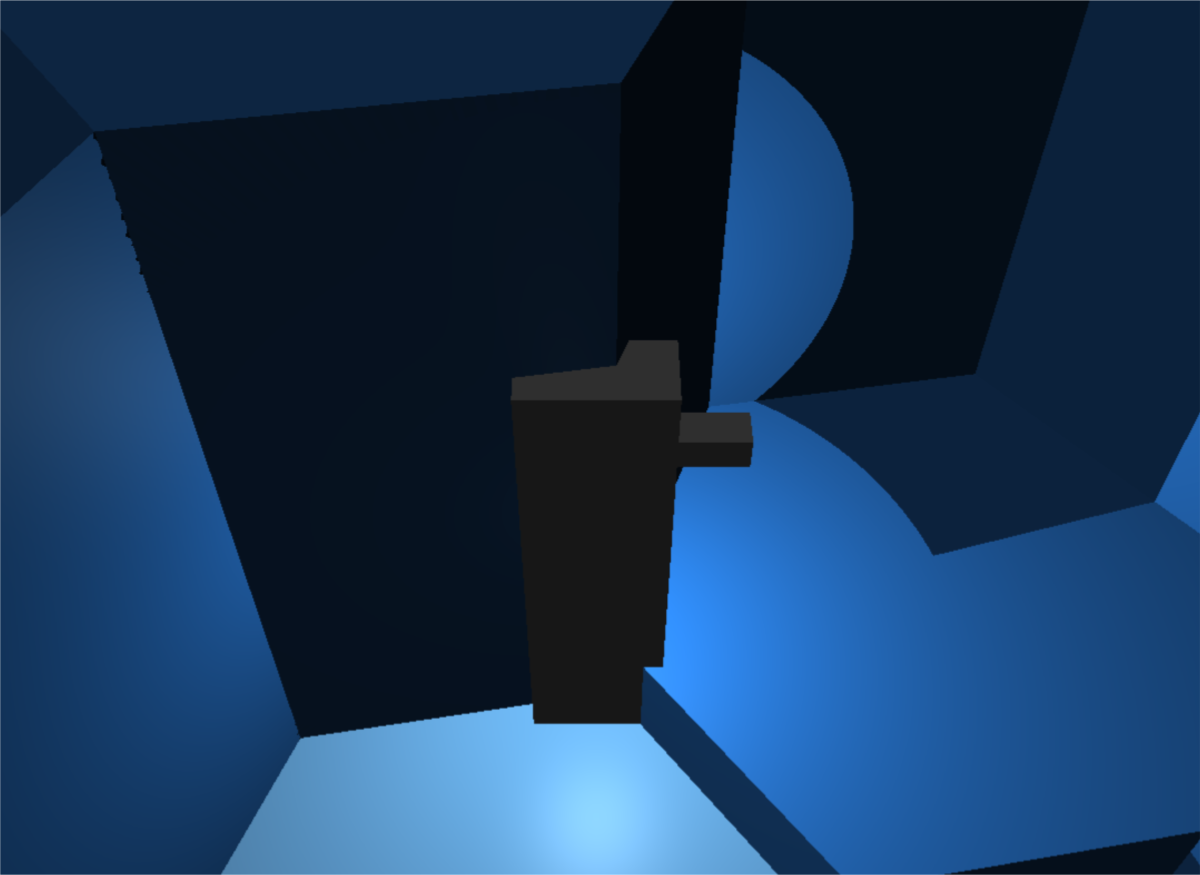
The player character can now detect collision with hexagon cells that the game world is composed of, so no more just walking through walls.
Above: Light bleeding through the mesh due to over penetration of character with mesh.
As you can see, the character can get too close to the walls. The physics simulation I’ve written here is also lacking any concept of inertia or friction.
Still making progress. I build an input manager class that simplifies adding/removing key input and allowing the player to customize the controls.
I define keyboard input events like so:
k['moveForward']=newKeyResponse([38,87,16],/* arrow_up, w, shift */);k['moveBackward']=newKeyResponse([40,83],/* arrow_down, s */);k['strafeLeft']=newKeyResponse([37,65],/* arrow_left, a */);k['strafeRight']=newKeyResponse([39,68],/* arrow_right, d */);k['jump']=newKeyResponse([32]/* space */);
And then we can hook up a function that responds to the events anywhere we like, in this case this is in my player character class:
This is with a 128x128x6 shadow cube map for this point light, which requires a high bias even with 1 tap PCF. (1 tap PCF generally requires the least bias of all the available shadow methods in Babylon).
The bias moves the shadow away from the caster, and so in some cases the shadow cast is “missed” because it was moved too far from the casting surface. This can be fixed by using 256x256 shadow maps, but since Scarlet6 is in the browser, I will avoid using maps that large for now.
Above: Light is bleeding through the mesh. The shadow bias is obvious when the point light gets very close to the shadow caster.
Another way to fix the issues above is to render both the front and back faces of shadow casters (default is just front faces as you would normally render a mesh). This would probably be quick if I only do this for the tile near the light (the only place that needs it anyway). It’s on the TODO list, but I want to get to writing actual gameplay ASAP so I won’t implement this for now.
Shadows in Babylon seem to simply assume that the shadow extends an infinite distance, so I improved the depth accuracy by reducing the shadow generator’s depth range to a minimum by changing this code:
That also reduces the near Z shadow camera clip plane, which removed some light bleeding due to casters getting clipped away when the point light is very near the object.
Above: Point light shadows.Above: Point light shadows.
Last time I found that directional light shadows need to be limited to affecting certain meshes.
The same applies to point lights, but in this case we also need to limit which meshes the light is drawn on, since point lights have a limited range. Selecting meshes to be affected by point lights is easier, so I’m doing that first.
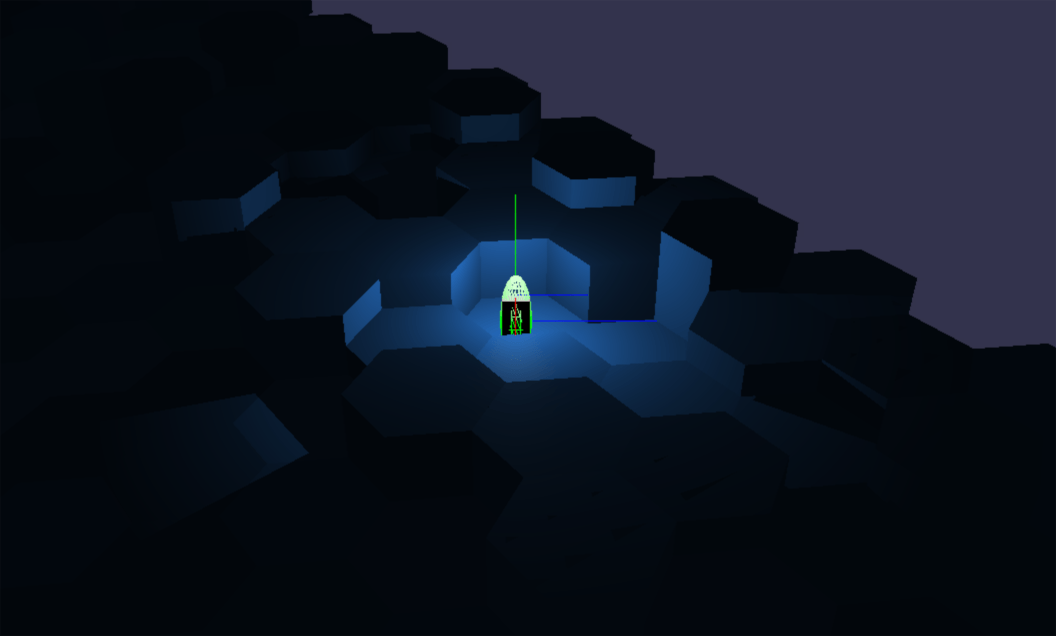
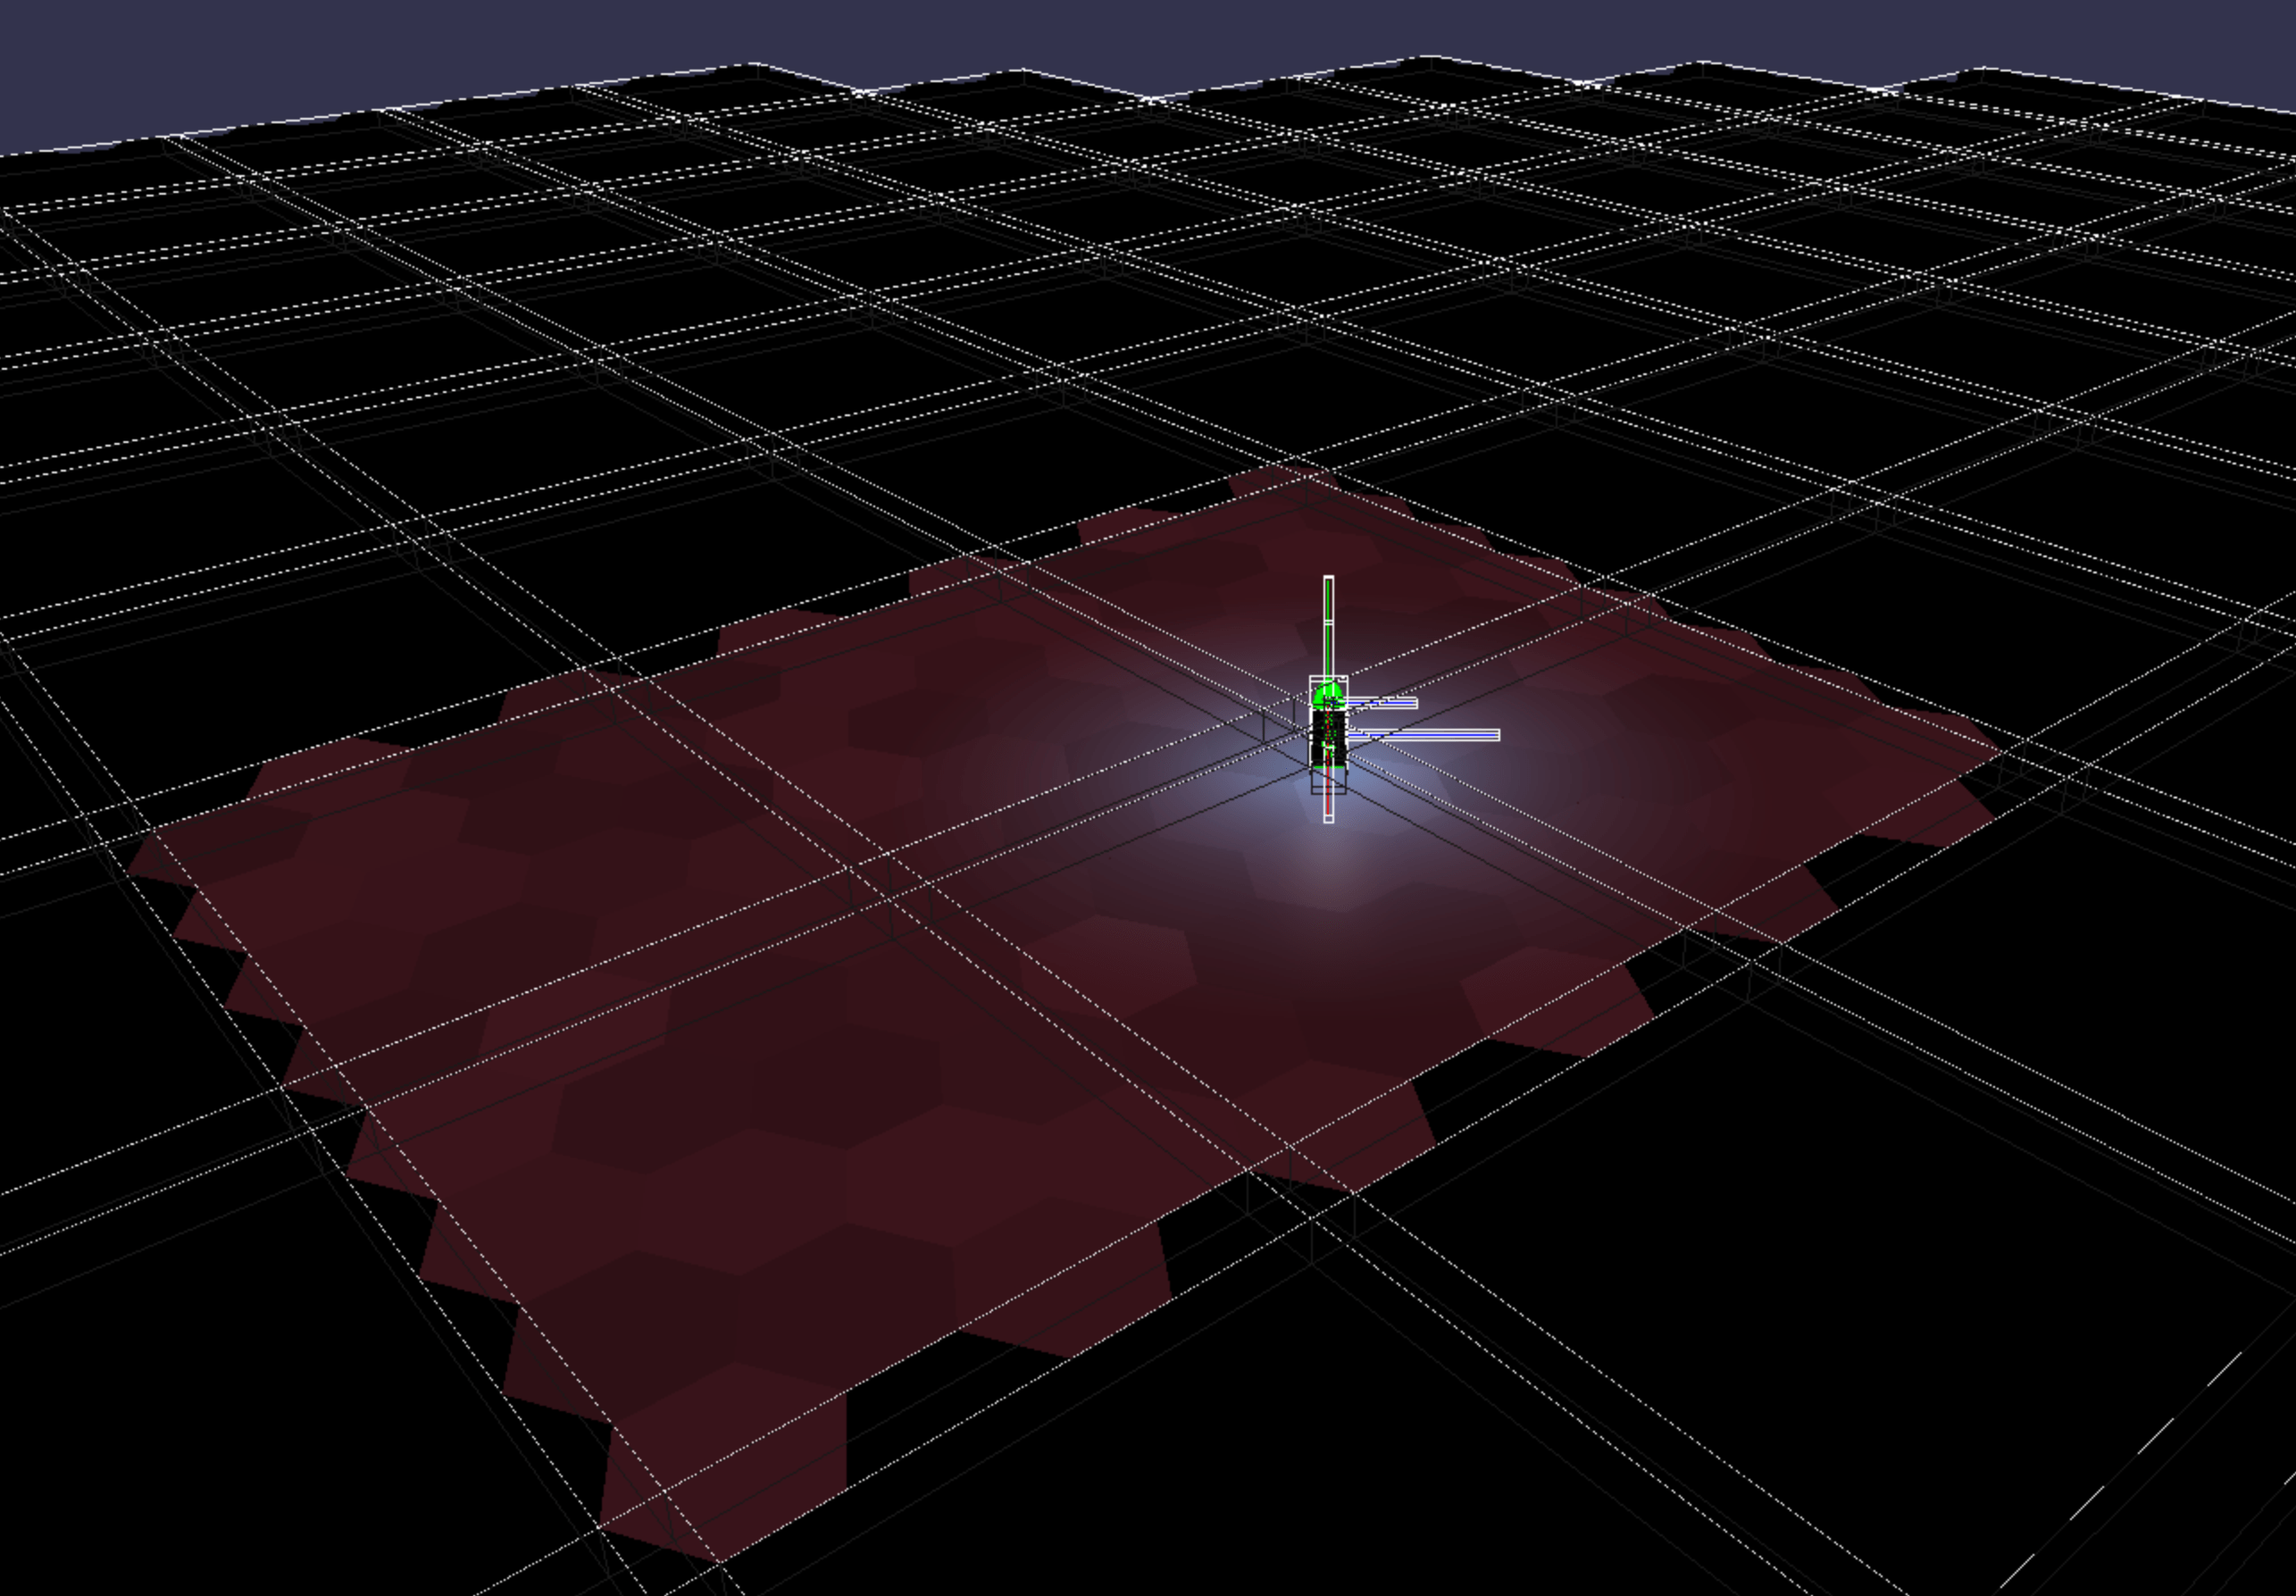
Above: Top-down bird's eye view of point light centered on the player.
Below, highlighting affected meshes in red, and everything else is black:
Think in terms of pixels on the screen. Every red pixel is one that has to have point light calculations. Every black pixel is one that we have saved from needing this calculation to be done.
So it will be possible to have many point lights in the distance, as they will only affect a very limited screen area.
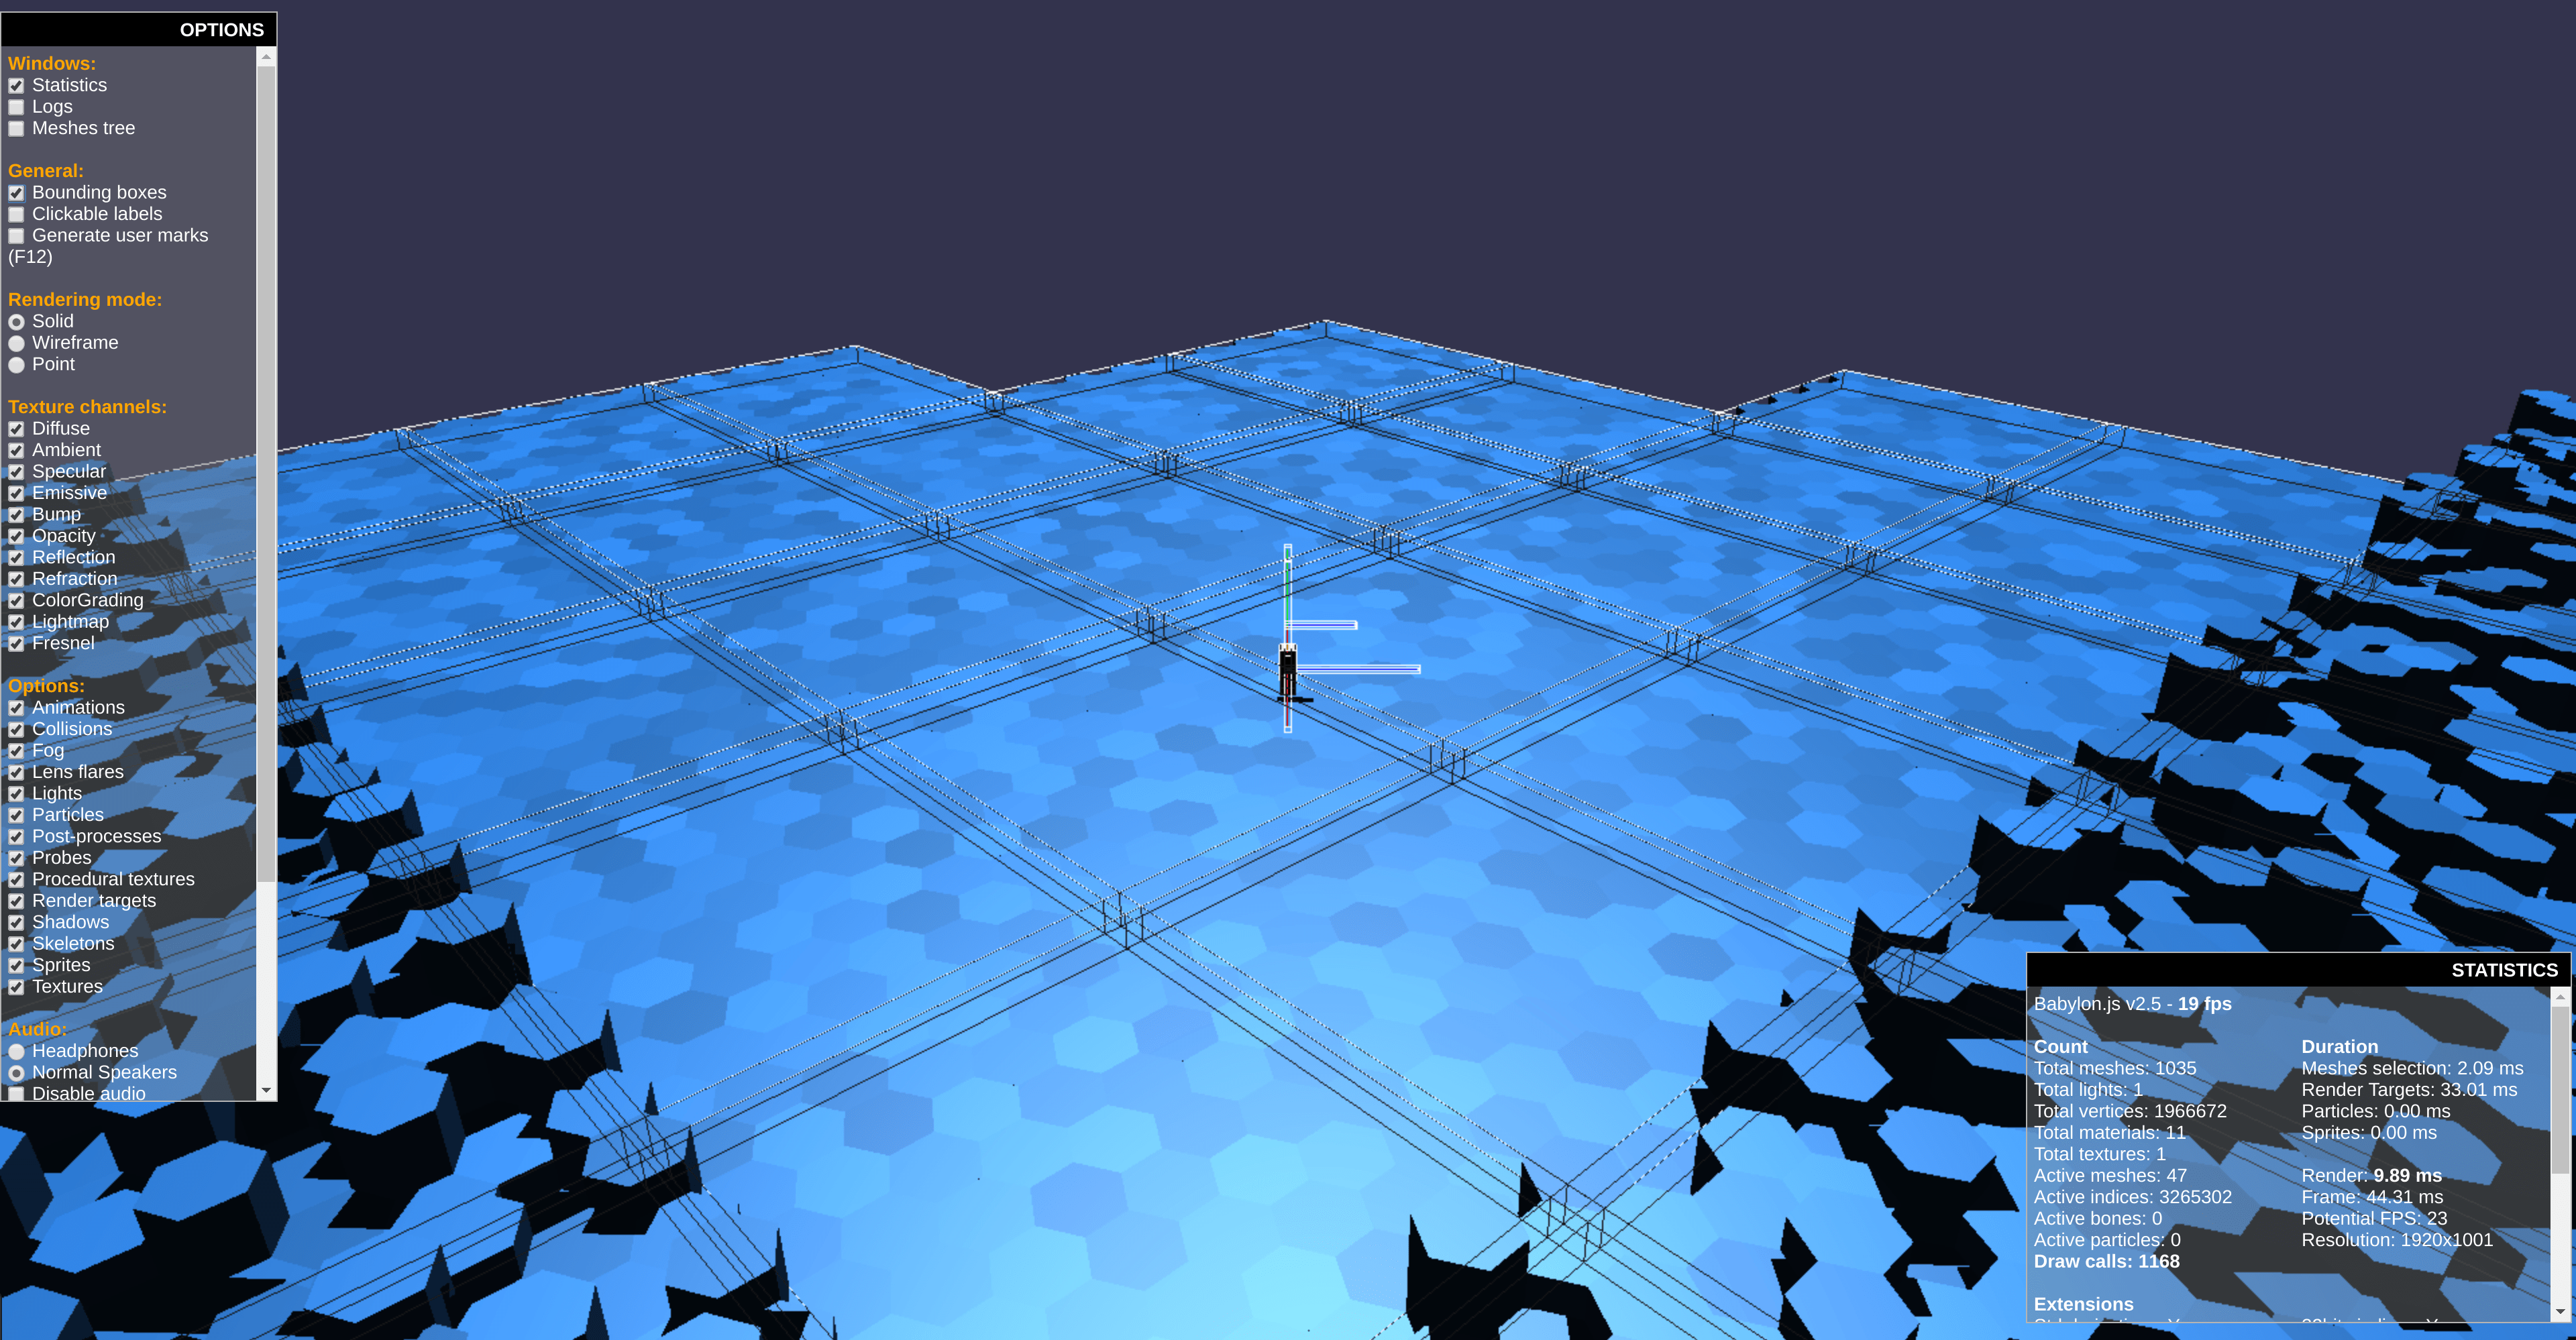
You can see the bounding boxes around meshes above. Meshes affected by the point light are red.
In the image above you can see in the distance (at the horizon) that only meshes within a certain range are visible.
What it looks like to turn off the point light on some meshes (notice the dark line of hexagons on the left where the point light is turned off).
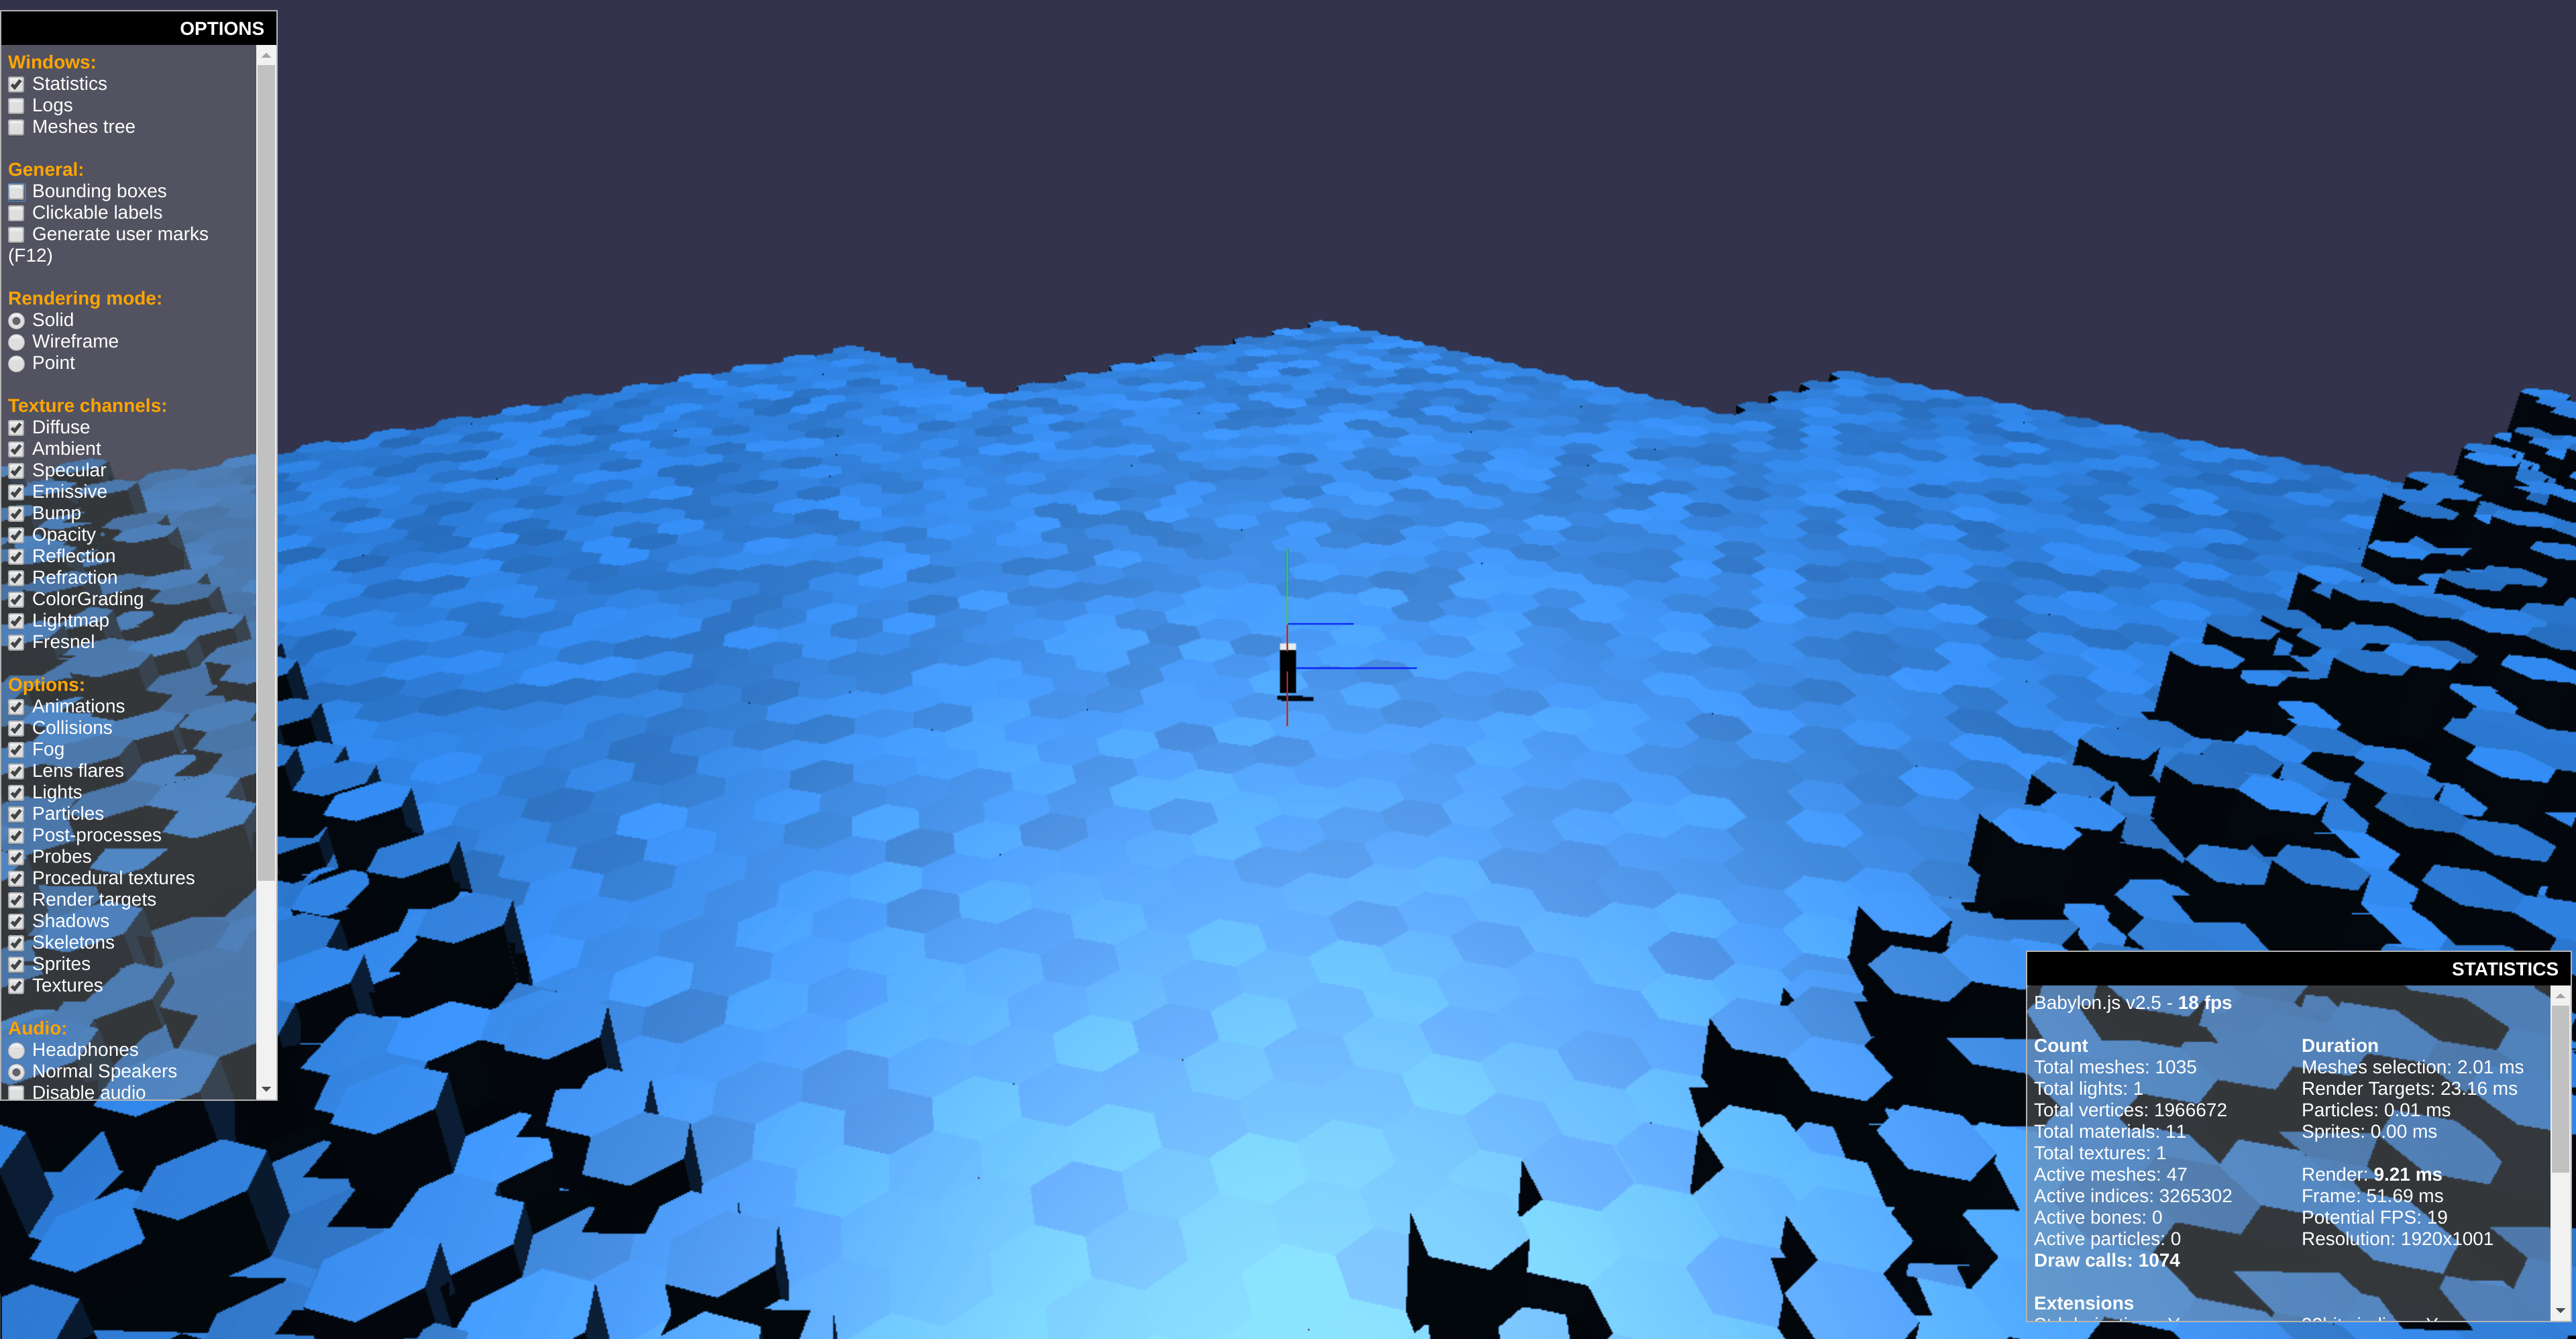
During this process I scaled up the world so that hexagons are twice as big as a few days ago, since I was finding myself in general making too many mesh draw calls. See below.
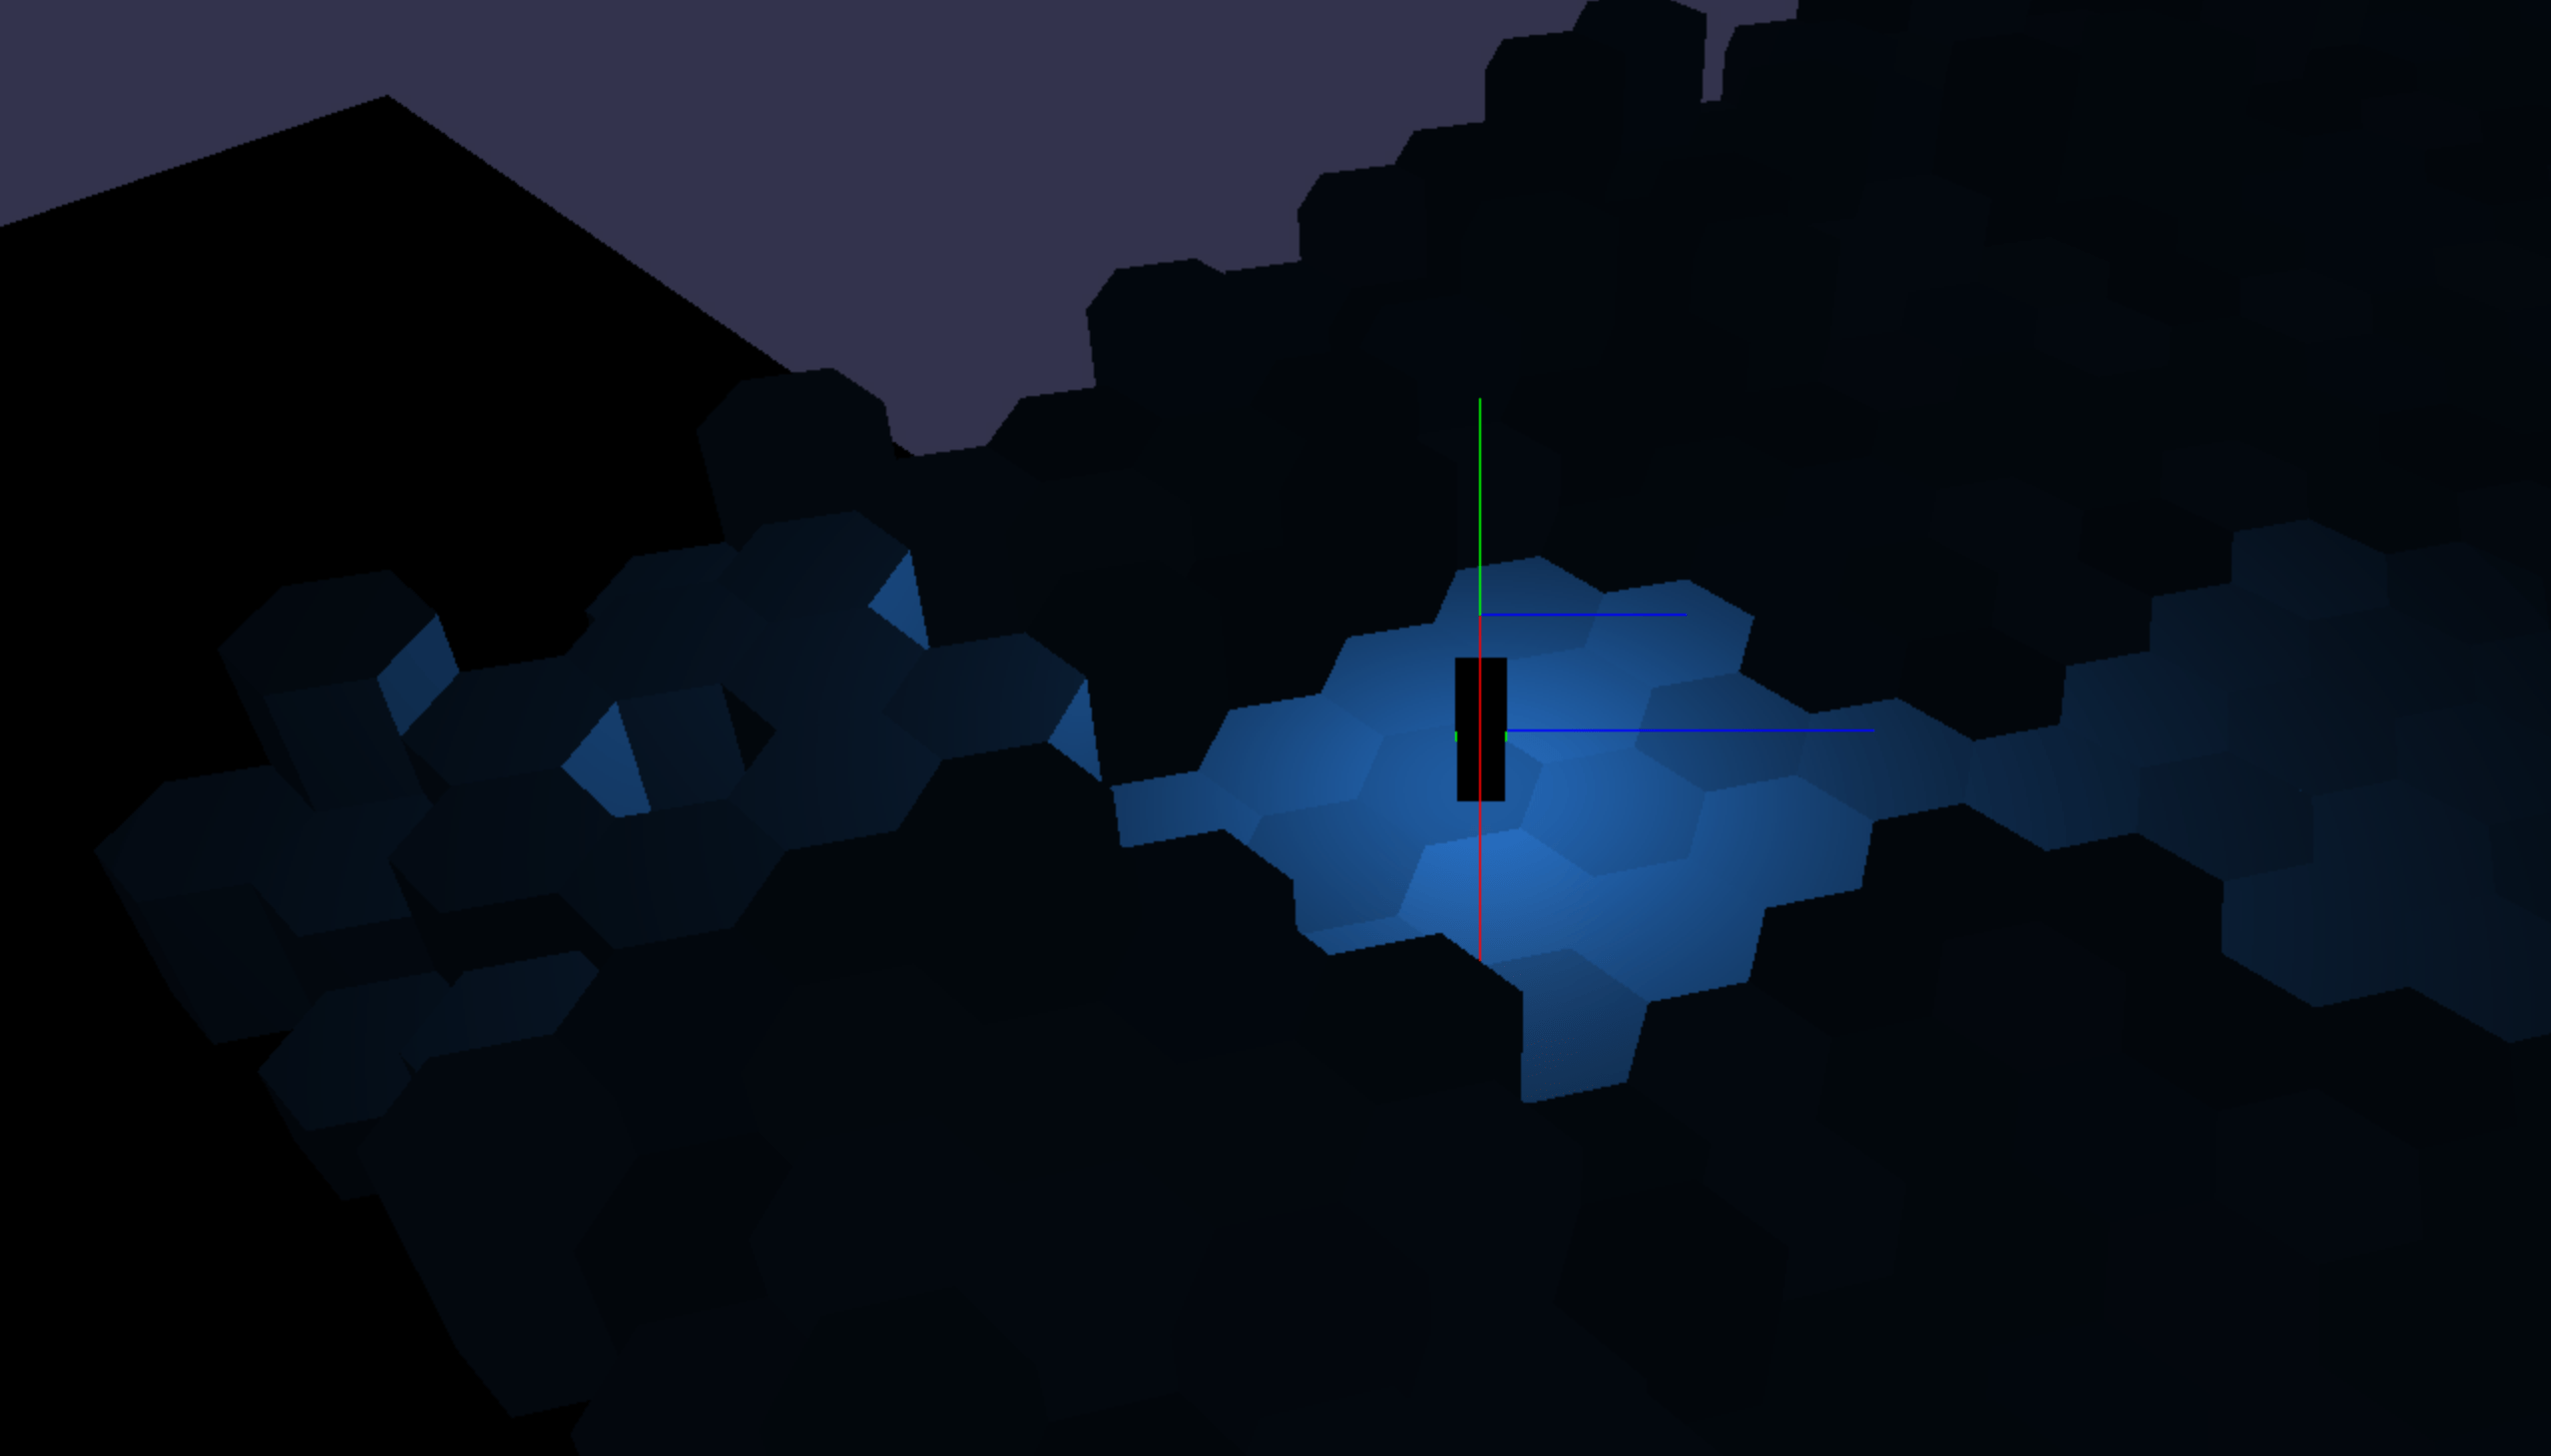
The new world scale and the size of the light that emanates from the player character.
When expanding the scene to be large enough for the expansive world that Scarlet6 will have, I realized that we need to limit the meshes that cast shadows from the sun.
In real life the sun’s rays expand in all directions, so it is not a directional light. However the sun is so far away from us that we can assume for our purposes that its rays are parallel, and so it can be modelled as a directional light that affects everything in the world.
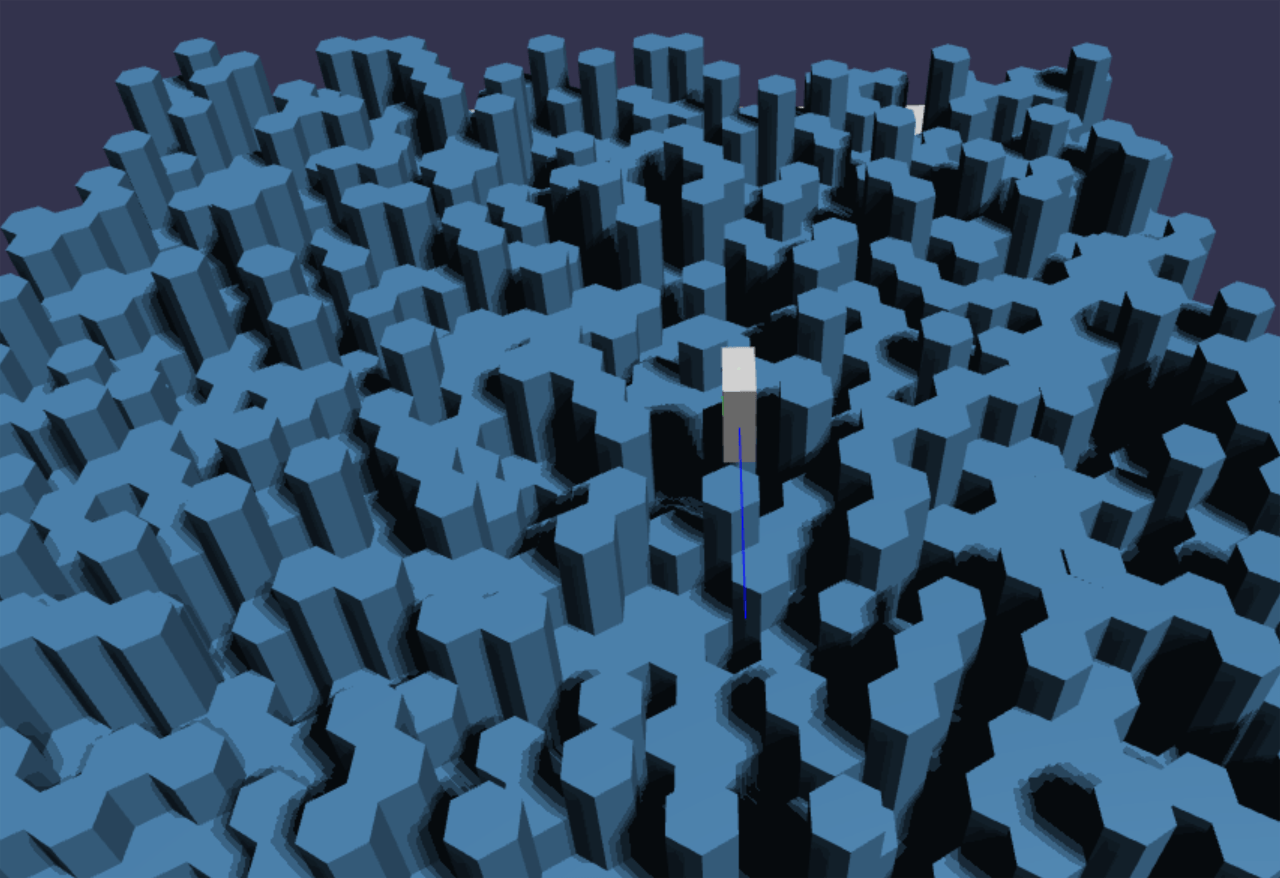
Above: Positioned underneath the world, looking up. No shadows. The world is a vast expanse of hexagonal prism cells.
This means it casts shadows on everything in the world, and a shadow map is calculated for everything in the world.
If shadows were turned on in the image above, everything would be black, as the hexagon cells would block the sunlight (shadow themselves).
Above: Shadows turned on world has ~1000 tiles in total, though only ~40 are visible.
Above we see that since we have about 1000 tiles in total, the directional light has to draw 1000 tiles into its shadow map. Doing this every frame results in over 1000 draw calls every frame (see the statistics on the bottom right of those images).
We have a budget for maybe about 300 draw calls per frame, so this puts us way over the limit.
I prefer not to bake static lightmaps into the scene, because I want the world to be changing and dynamic (those hexagon cells will change height), so we need a faster way to draw the sun shadows.
Above: Bounding boxes around the visible tiles make it clear we can only see about 40 tiles at this camera position.
The solution is to only draw the meshes into the shadow map that are relevant for what the camera can see at this frame. This means the 40 tiles we see on the screen, plus an educated guess of some tiles that are offscreen that may be casting shadows onto our scene.
Basic camera and player control is implemented. Still a long way to go with the controls, but experiencing the world as a player is starting to become possible.
I had some z-fighting issues at the edges where polygon edges were touching, I amplify the effect here to make it obvious in the screenshot:
Z-fighting errors at the edges of hexagons (the black pixels).
This was fixed by using a logarithmic depth buffer. Babylon has this built in, you need to enable it for every material you use, if you choose to use this.
Also I reduced the camera frustum length to the minimum possible.
I’ve been busy refactoring things into more modularized code.
Also, the scene now uses bounding boxes around the tiles so that not visible tiles are culled, reducing the number of draw calls.
The default Babylon.js framework provided poisson sampled (4-tap) PCF shadows are also enabled.
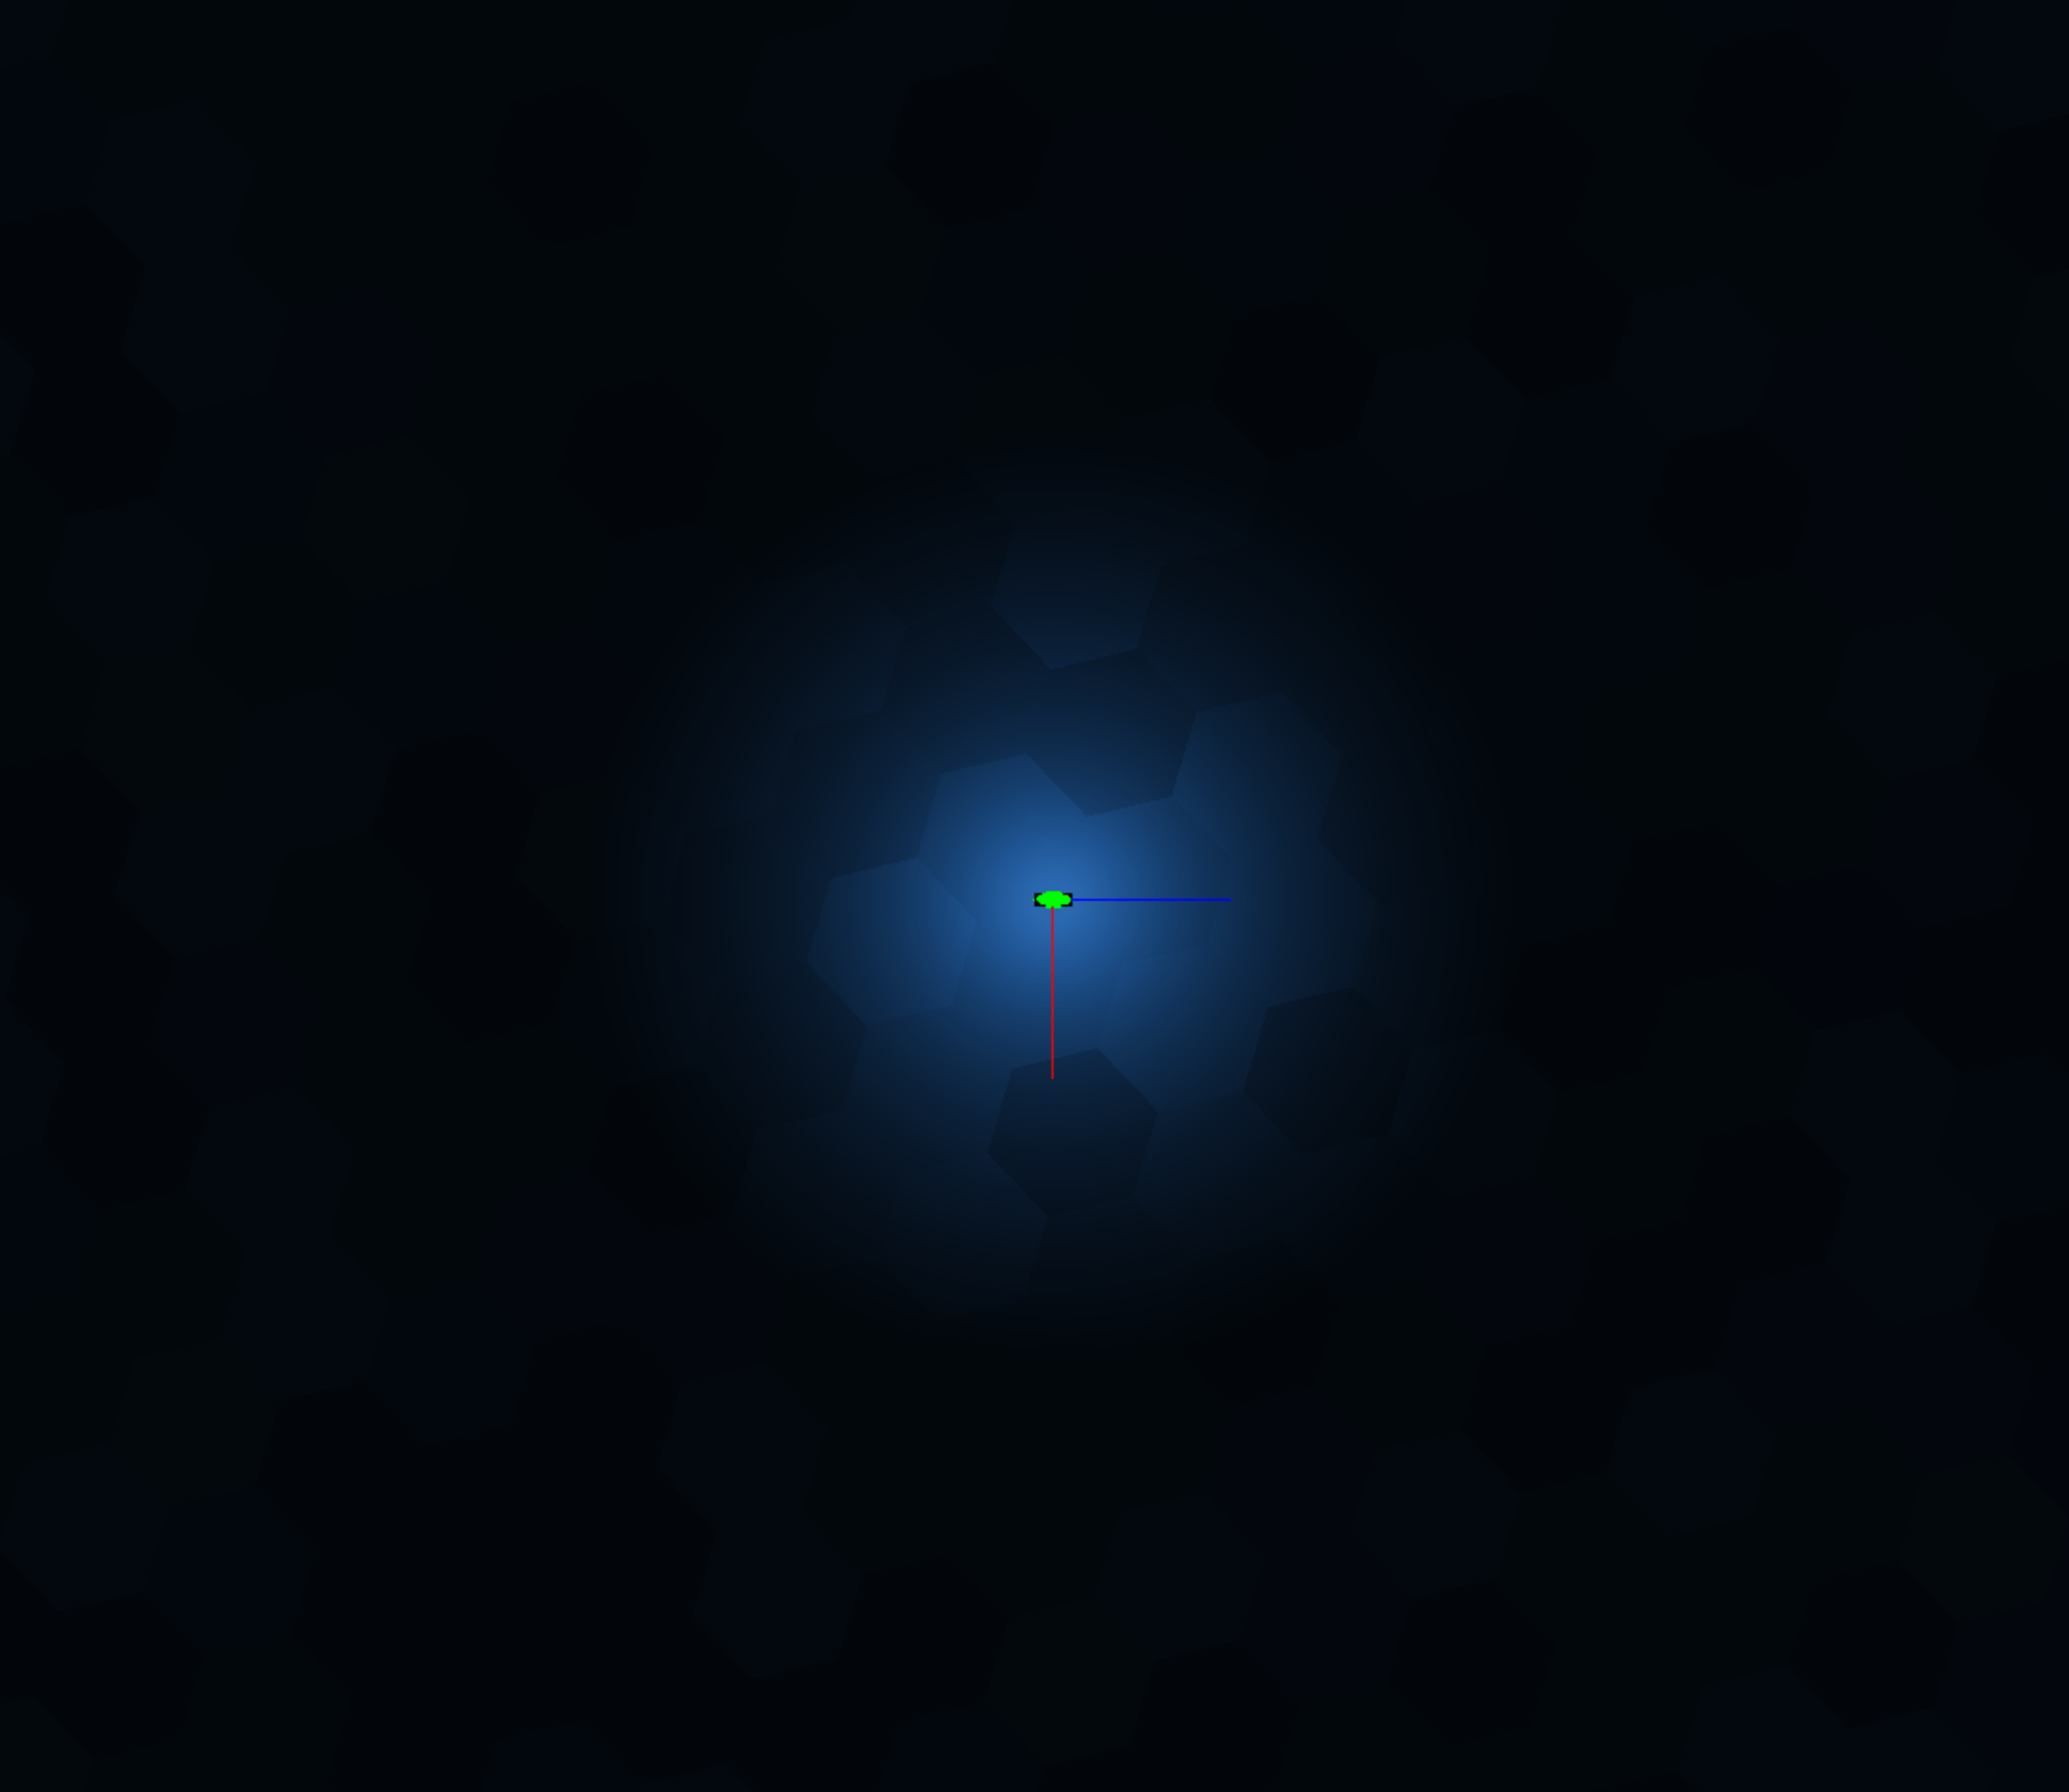
The camera now follows the player character object, it’s the grey rectangular prism, which we can now move around with the keyboard.
Shadows, the grey rectangular beginnings of a player, and organized code making it all happen!Bounding boxes around each tile, used to detect which tiles we need to draw. Tiles outside of the camera view aren't drawn.
NOTICE that I specifed the exact version number of the typescript package, as the latest version at the time of writing this has a bug that prevents compiling the latest version of babylon.js.
Babylon.js’ equivalent of three.js’ InstancedBufferGeometry is, in a way, the Solid Particle System. So the advice of the Babylon.js forum (a great community so far by the way!), I’ve tried playing with that.
The SolidParticleSystem uses a single vertex buffer object, which might be slow compared to a double buffer approach. At least the Khronos Wiki (see “double buffered VBO”) still seems to say this gives a performance advantage. But maybe not, with modern GPUs.
It doesn’t much matter, since ultimately I will need to implement a WebGL 2.0 version of this using Transform Feedback and the flat shader directive that will be more performant than this system can offer.
The following is babylon playground code demonstrating a flexible number of SolidParticleSystems that are each updated constantly, all the particles in one SPS are updated each frame.
If you copy/paste the following code into the Babylon Playground you can view the real-time rendering of this scene and play with the code:
varcreateScene=function(){// This creates a basic Babylon Scene object (non-mesh)varscene=newBABYLON.Scene(engine);// This creates and positions a free camera (non-mesh)varcamera=newBABYLON.ArcRotateCamera("camera1",0,0,10,BABYLON.Vector3.Zero(),scene);camera.setPosition(newBABYLON.Vector3(0,20,-10));camera.attachControl(canvas);varlight=newBABYLON.PointLight("l",camera.position,scene);varmodel=BABYLON.MeshBuilder.CreateCylinder("m",{tessellation:6},scene);// Note: total particles is (nb * numSPS)varnb=100;varnumSPS=25;varspsL=[numSPS];for(varj=0;j<numSPS;j++){varsps=newBABYLON.SolidParticleSystem('sps_'+j,scene);sps.addShape(model,nb);varmesh=sps.buildMesh();mesh.useVertexColors=true;sps.initParticles=function(){vartileWidth=10;varpatchWidth=5;varx,y,z;for(vark=0;k<nb;k++){varpar=sps.particles[k];// xx=0;// position particle in tilex+=k%tileWidth;// position tile in patchx+=(j%patchWidth)*tileWidth*1.1;//x += j*tileWidth*1.1;// center patch on originx-=(tileWidth*patchWidth)/2;// zz=0;// position particle in tilez+=Math.floor(k/tileWidth)// position tile in patchz+=Math.floor(j/patchWidth)*tileWidth*1.1;// center patch on originz-=(tileWidth*patchWidth)/2;// hex tile offsetz+=(k%2)*0.5;y=-1;par.position.x=x;par.position.z=z;par.position.y=y;}}sps.isAlwaysVisible=true;sps.computeParticleColor=true;sps.initParticles();sps.setParticles();sps.mesh.freezeNormals();sps.mesh.freezeWorldMatrix();spsL[j]=sps;}model.dispose();frameNum=0;scene.registerBeforeRender(function(){// iterate through list of SPS objectsiSPS=frameNum%numSPS;// update the same SPS object each frame.//iSPS = 0;for(vari=0;i<nb;i++){varpar=spsL[iSPS].particles[i];par.position.y=0.5+Math.random()*0.5;}spsL[iSPS].setParticles(0,nb,true);frameNum++;})returnscene;};
I built a similar hexagonal prism field scene again, this time with Babylon.js by following their instancing demo, to get a feel for that framework.
Performance of my code is poor, but that is due to my choice of tools inside of Babylon.js, not due to Babylon’s performance itself. The Babylon community seems great, and they have pointed me toward using Babylon.js’ Solid Particle System.
I think Babylon has a more opinionated way of doing things compared to three.js, which can be great depending on how you feel about frameworks vs libraries, but requires learning a bit about how things are done, and obviously I am still new to Babylon.js.
So up next, implementing this same example using the Solid Particle System.
Testing on a macbook air with an Intel HD 5000 IGU (not my dev machine), am getting 60 FPS even with 30000 instances. Of course it will be a different story when texturing, shadowing, lighting are added, but this is a good sign for the CPU-side of things so far.
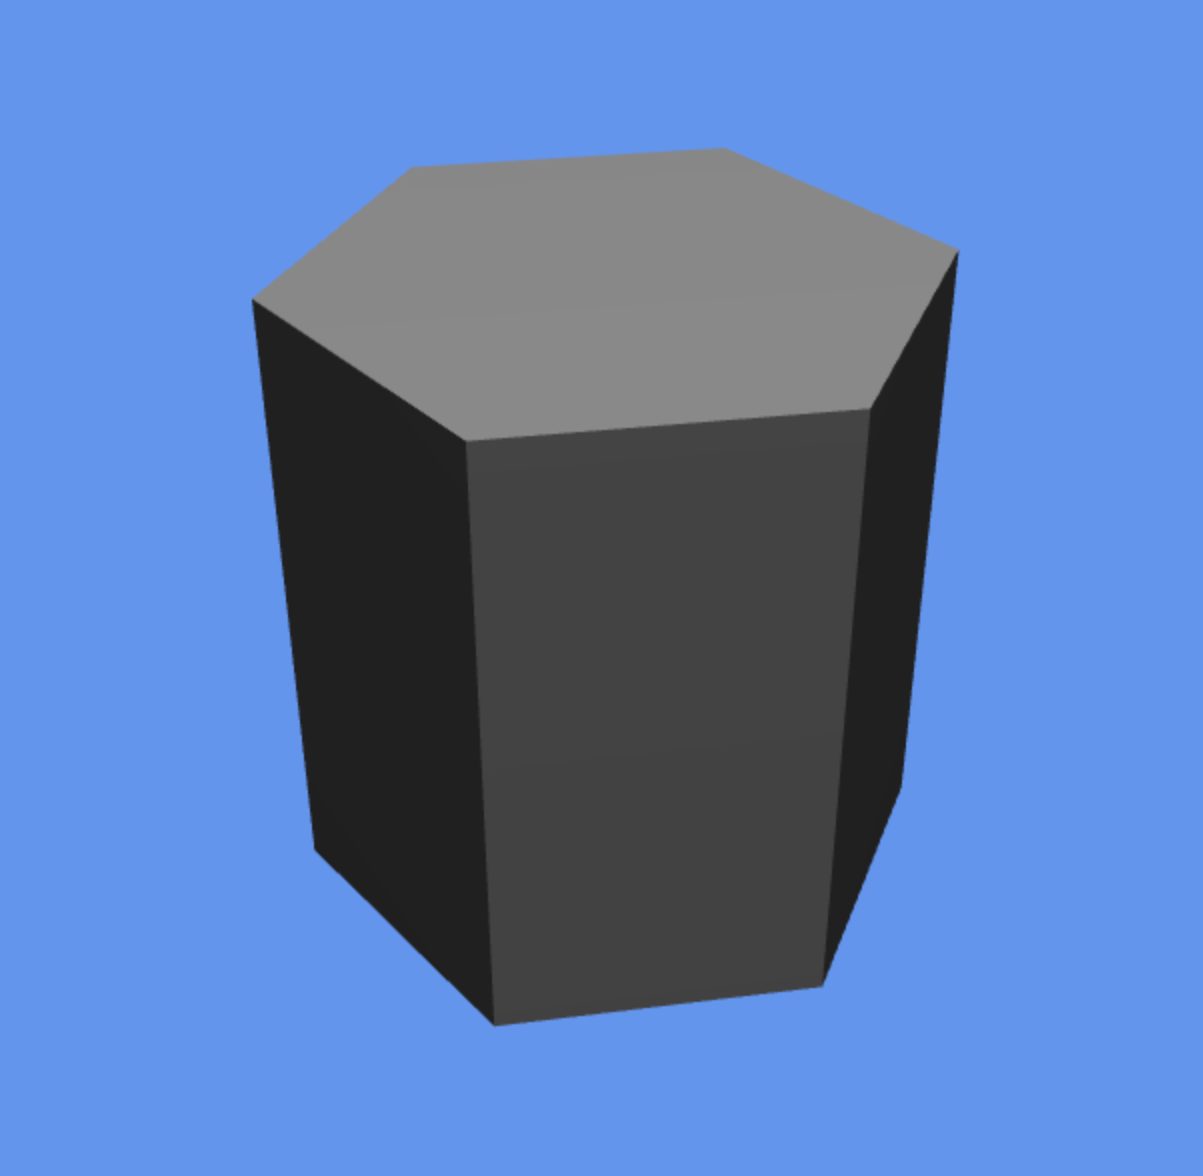
I coded a hexagonal prism vertex by vertex in Javascript.
It’s critical to get this to be drawn near optimally since the game will feature this object more than any other. Three.js doesn’t support WebGL 2.0 yet, so I’ve written both a WebGL1 and WebGL2 version. When three.js’ WebGL2Renderer is ready, I will switch over.
The WebGL2 version is only 12 vertices, for use with the “flat” directive. We can use one vertex normal for an entire triangle (specified by the provoking vertex).
The WebGL1 version is 30 vertices, since many vertices need to be duplicated in order to have a flat shaded look (can’t turn off normal interpolation in WebGL1!).
This is drawn with indexed triangles. I considered using a triangle strip, but you’d need more vertices plus degenerate triangles. I doubt its ever worth it anymore to use triangle strips on modern hardware v.s. just indexed triangles.
Doesn’t look like much, right?
It took an entire day to build this simple scene.
To understand why this was so expensive to do, let’s break down what seems like a simple exercise into pieces:
Carefully calculate each vertex position.
Calculate each vertex normal manually.
Place each vertex so that the correct normal is used.
Learn from the OpenGL ES specs which vertex would have its normal used (i.e. which is the provoking vertex).
Select indices such that the correct normal is used for each surface.
Correcting bugs.
Set up a scene with a camera and light source in three.js.
And of course in my case, learning three.js and WebGL took some time.
For non-developers, consider the following rendering of a hexagon field. It only took an hour or two to create in blender (and I’m a novice at blender):
It’s a more complex scene, but it didn’t need to be written by hand with code and napkin math.
Game development difficulty comes largely from the fact that is real time. Everything needs to be constantly optimized to achieve all drawing and update logic 60 times per second, every second.
I think even experienced developers underestimate the difficulty and time cost of game development.
Its easy to imagine a field of hexagons.
It’s easy to model it quickly in some 3D modelling software.
But when it comes time to bring that world to life in a real time rendered setting, the difficulty level skyrockets.
This is apples and oranges of course but consider that Blender took 10 minutes (600000 milliseconds) to draw that scene on my core i7 machine. In Scarlet6, there will be 16 milliseconds to draw a scene with way more stuff going on. The very short time requirement for drawing stuff is where the difficulty in the graphics side of game dev comes from.
Here are the hexagonal prism vertex position coordinates for the WebGL 1.0 version (no flat shading directive):